


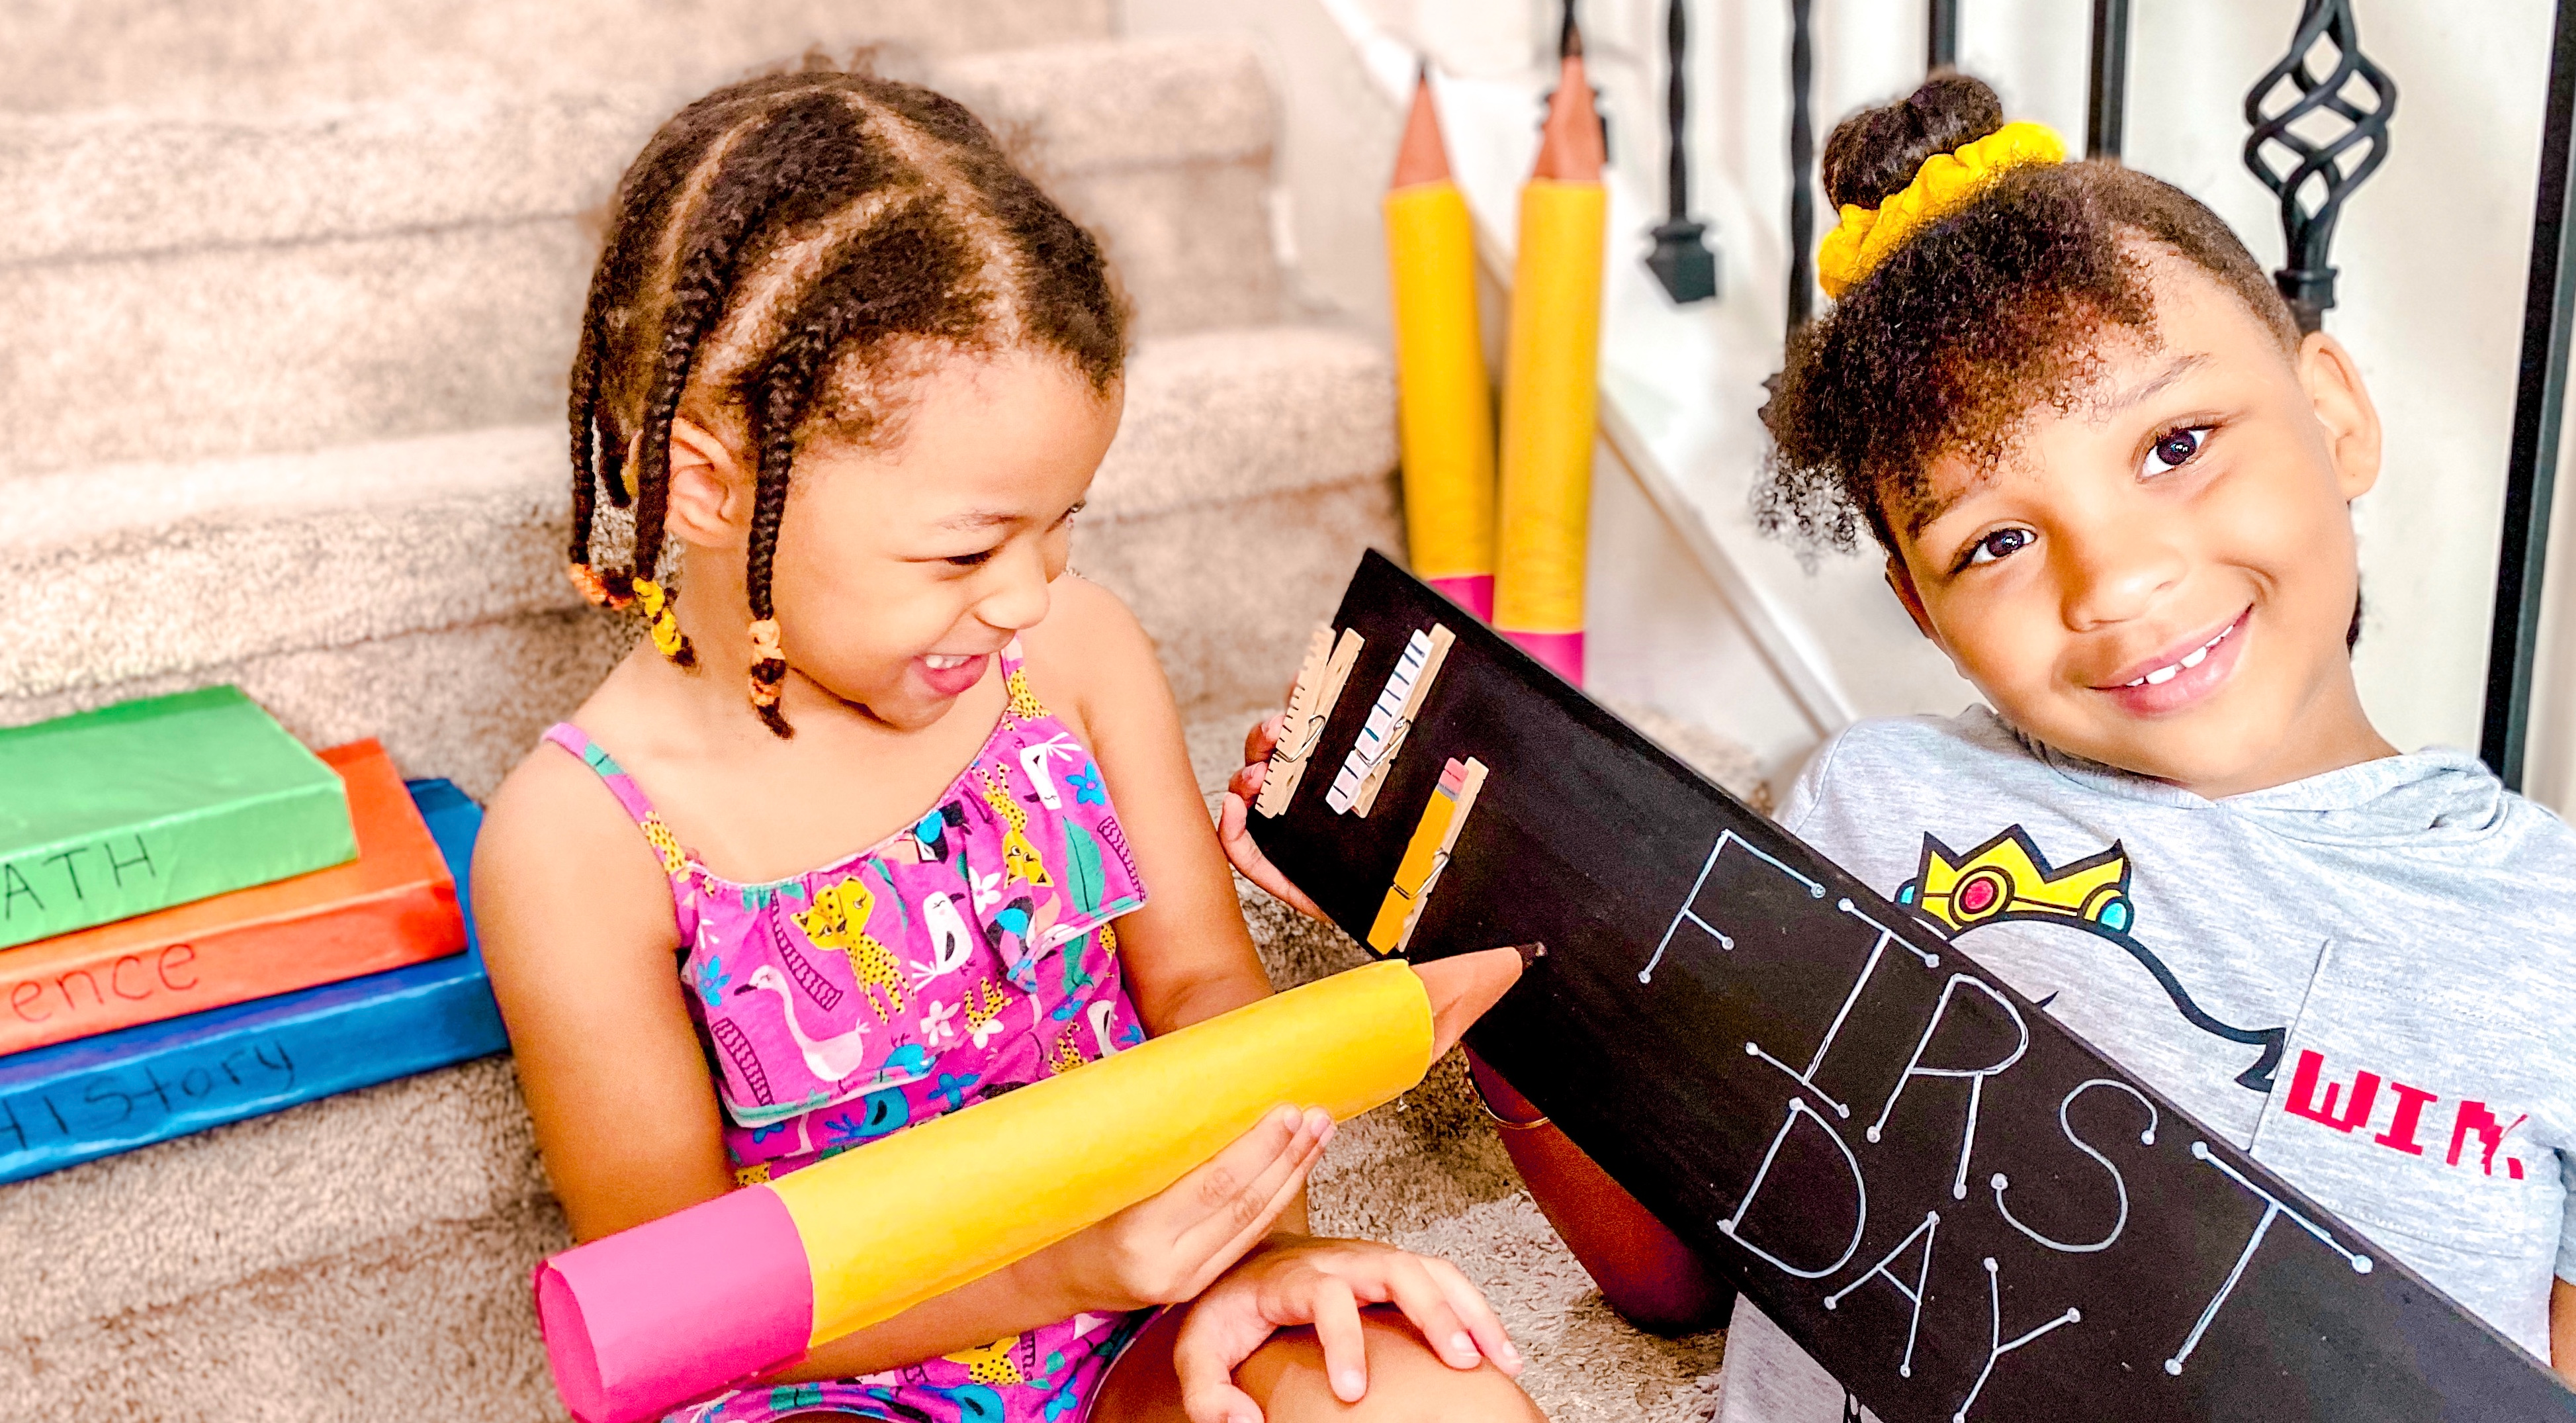
If you’re like me then you’ve had Back to School on your mind for a while. Let’s be honest, school this year is going to be different and a big adjustment for everyone. It doesn’t matter if your kids are attending Homeschool, Virtual School or returning to the classroom they are going to experience a First Day. Why not make that first day as special as we possibly can. I put together 3 fun DIY crafts that will be great for First Day photo props or even classroom decorations. They’re even simple enough that your kids can help you create them.
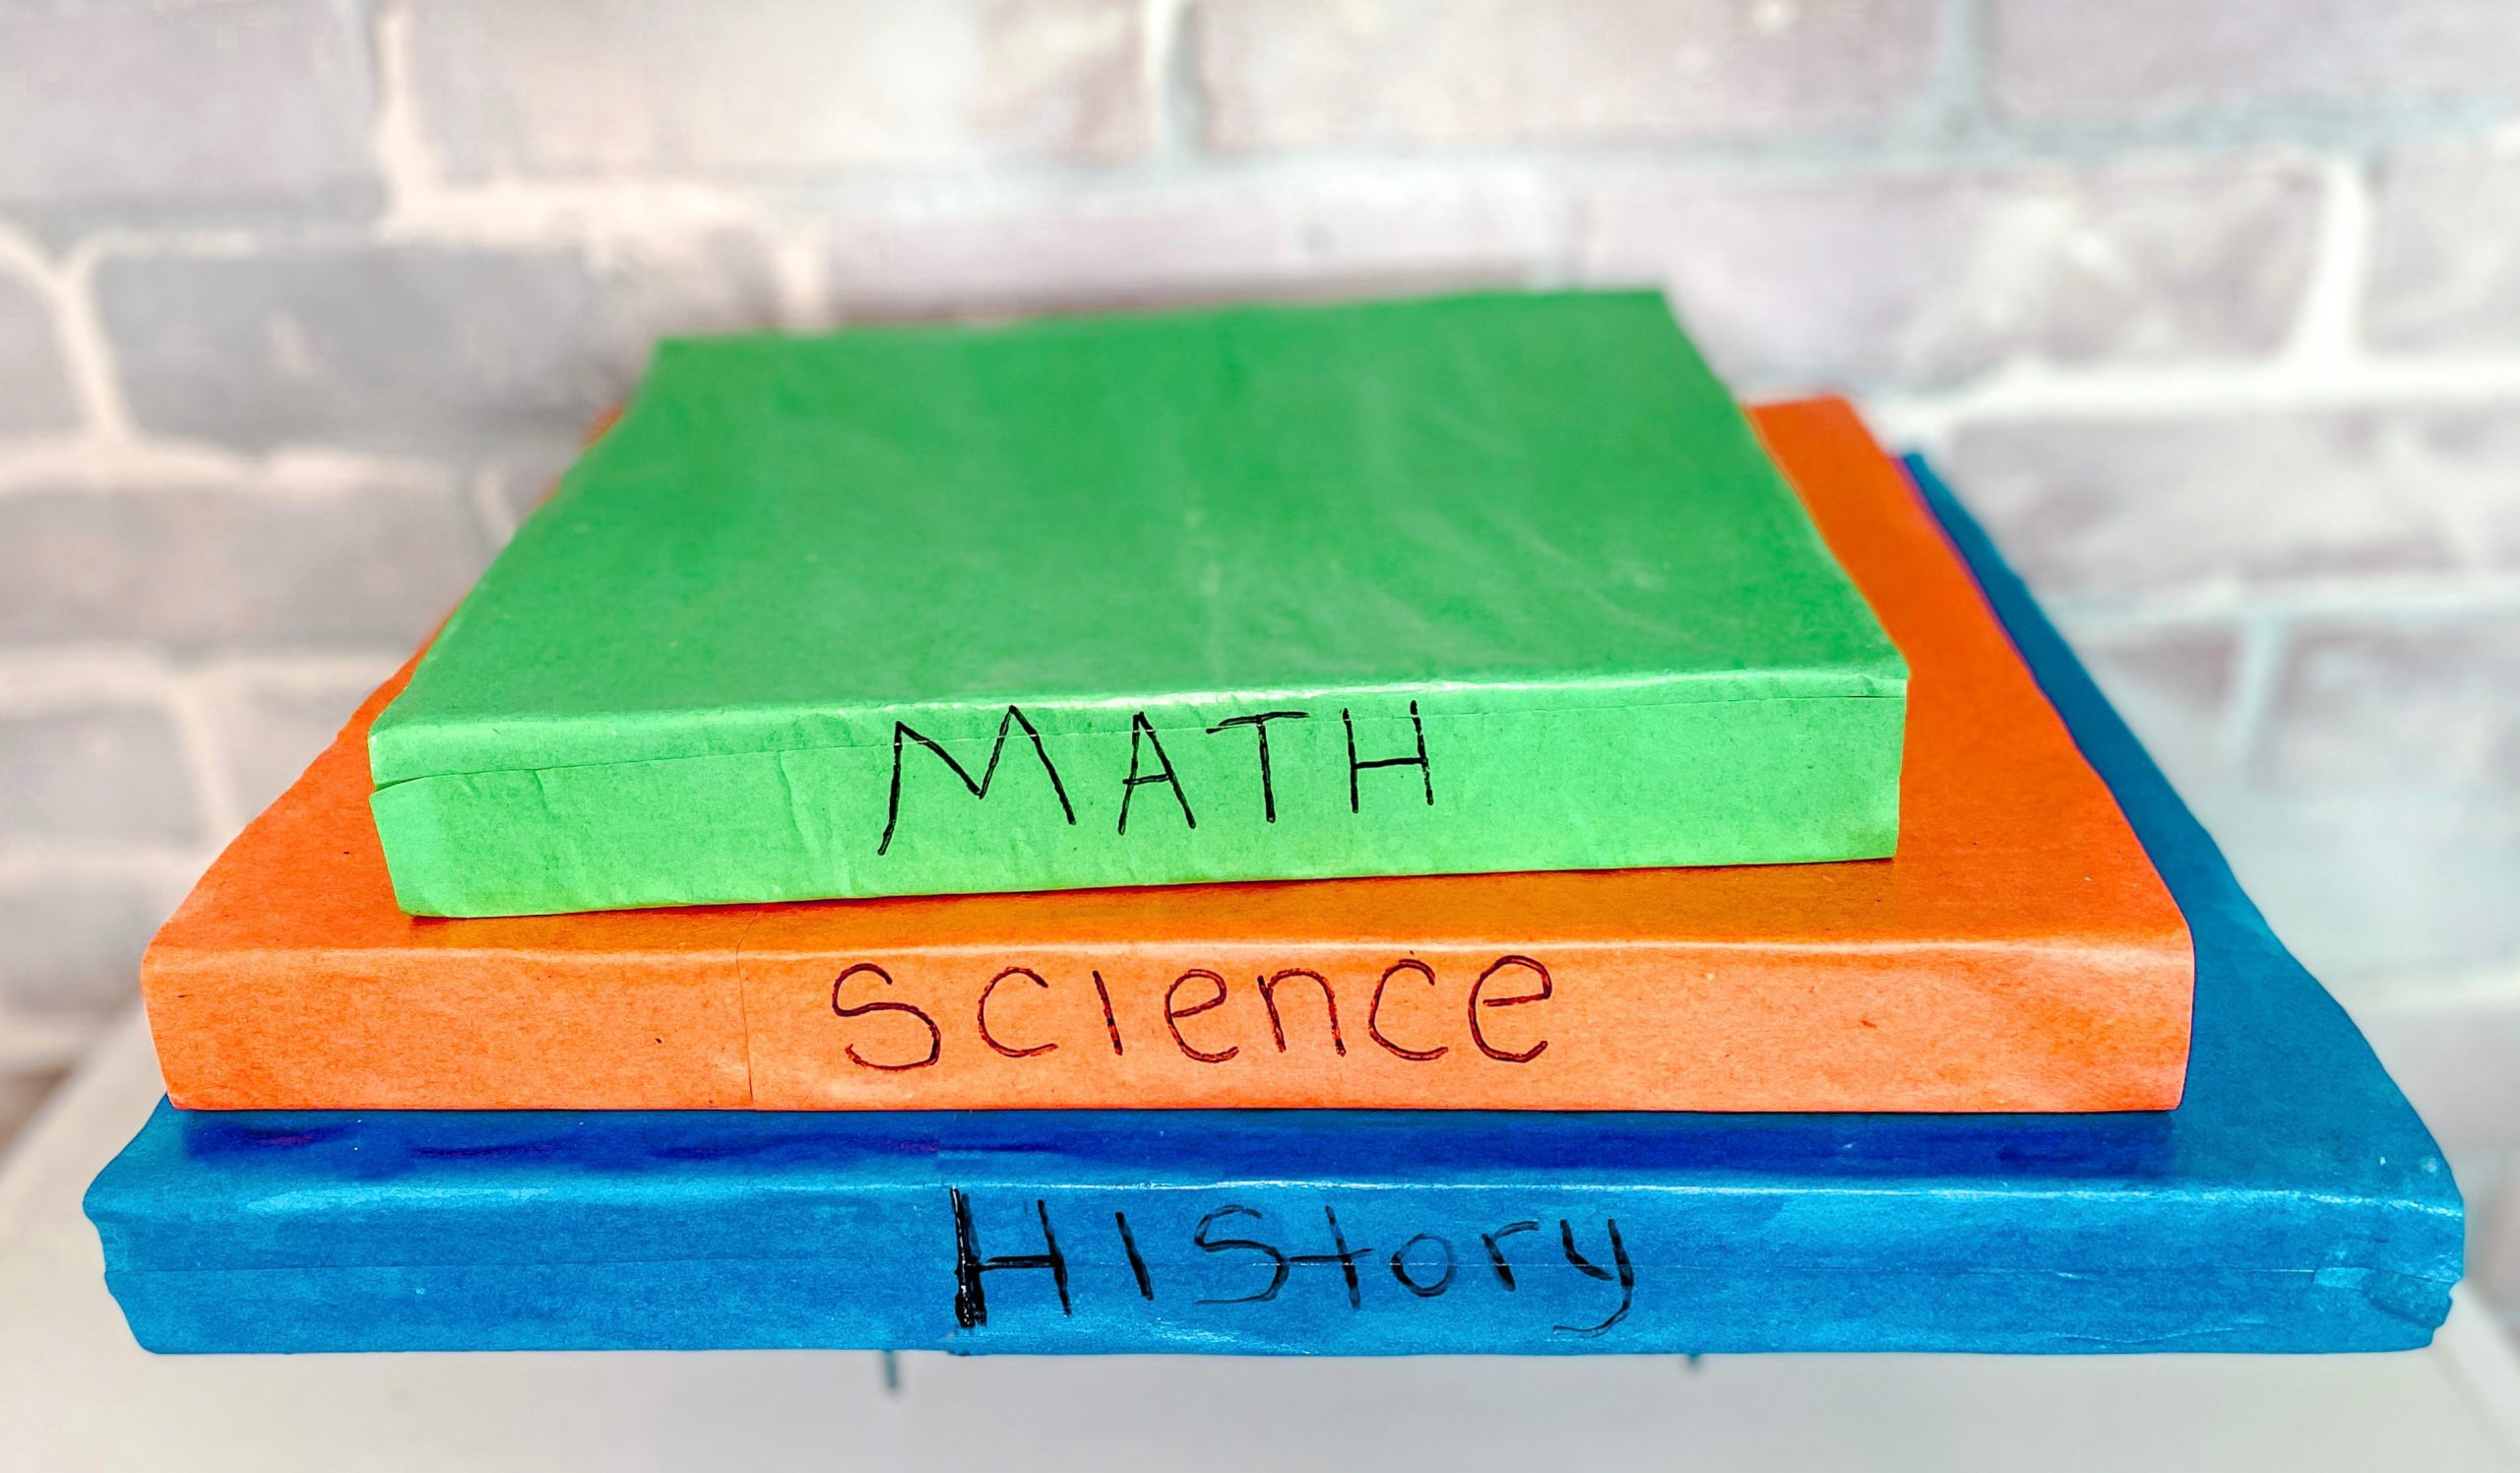
Faux Textbooks
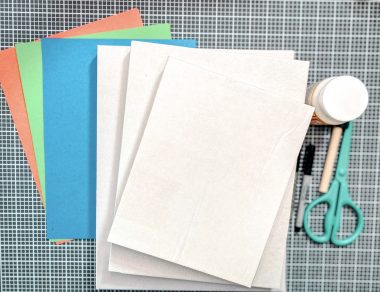 Materials:
Empty Boxes-variety of sizes
Construction Paper – variety of colors
Mod Podge Glue
Foam Paint Brush
Black Marker
Scissors
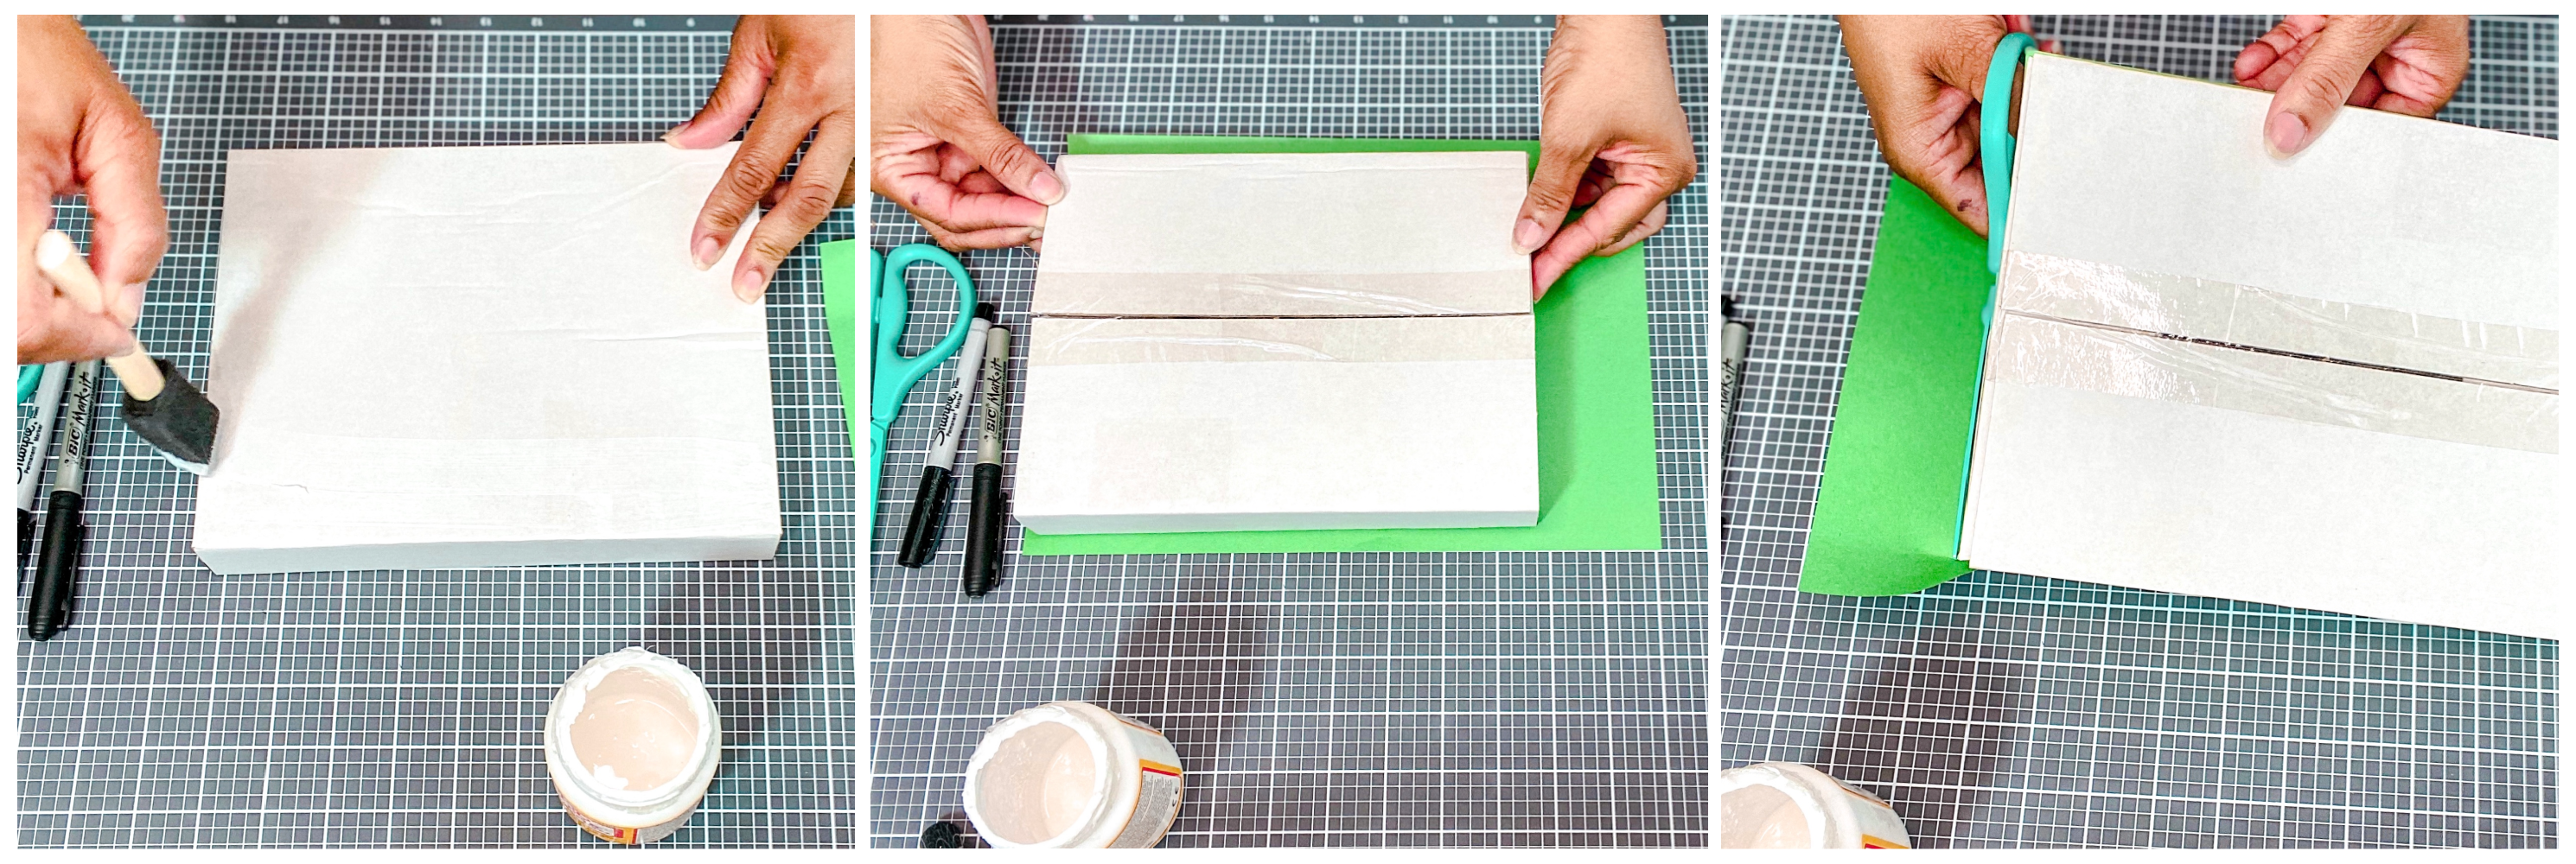
Apply the Mod Podge glue to the top and one side of your box. Lay your construction paper onto your table then place the box on top of the construction paper. Allow about a 1/4 inch overhang of the construction paper. If needed cut off any extra paper.
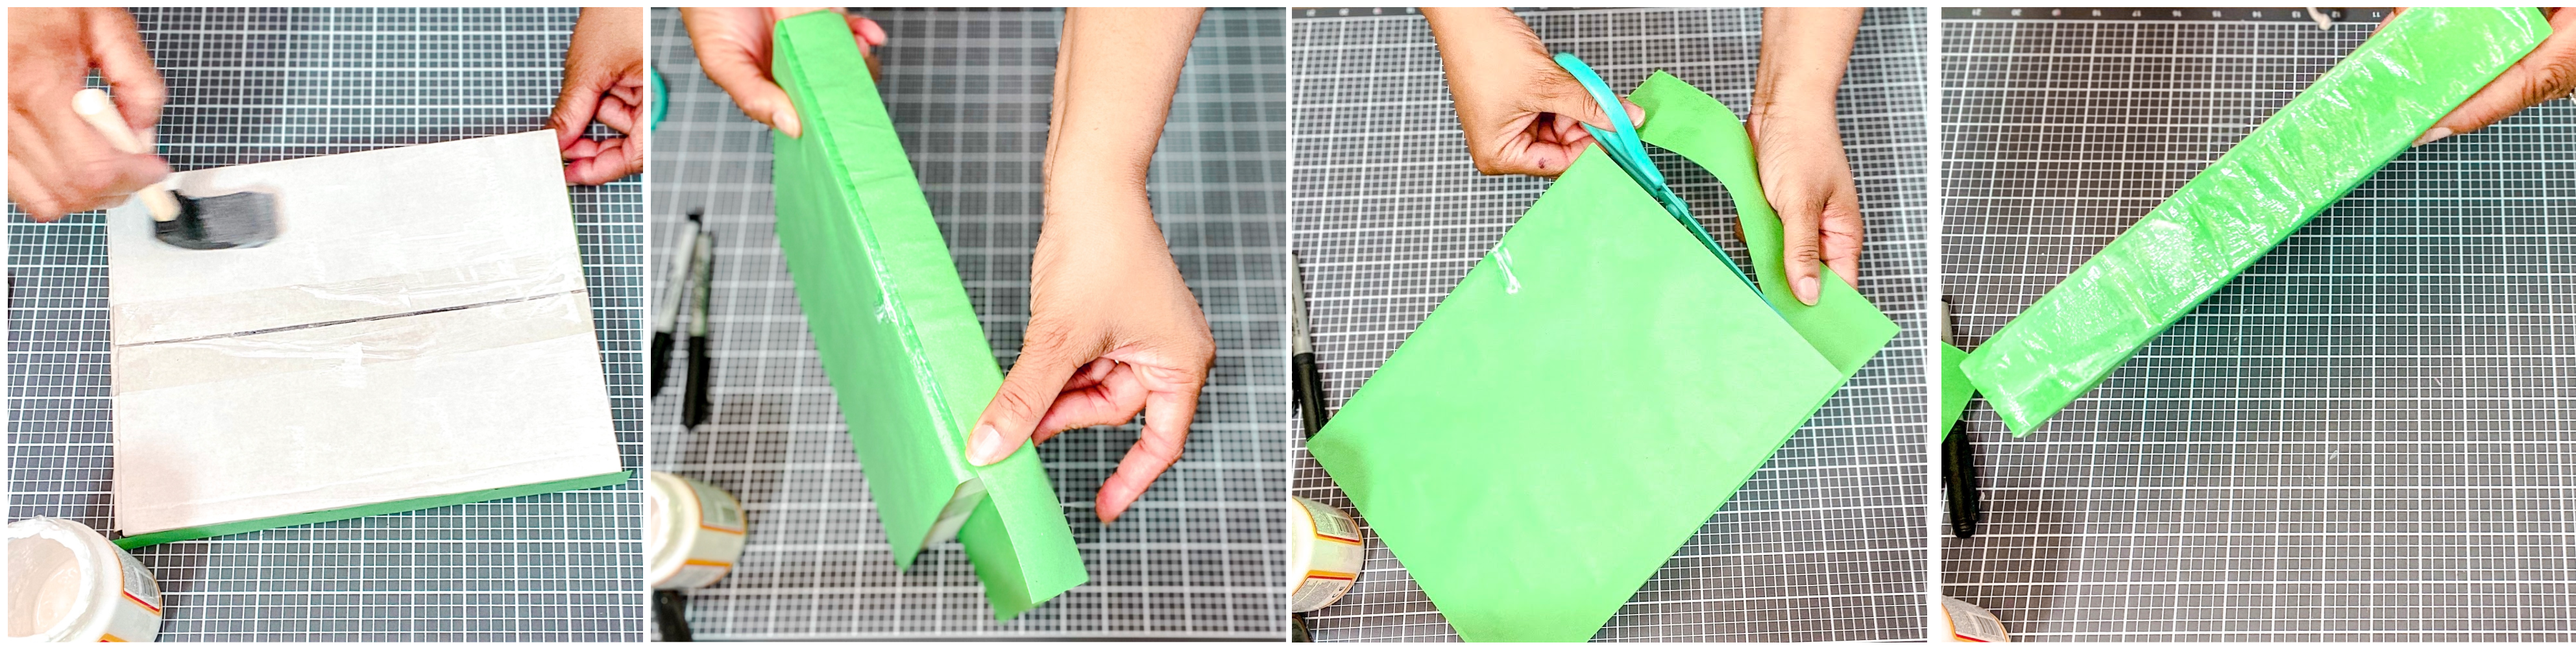
Apply the Mod Podge glue to the other side of the box and wrap the construction paper. Trim any extra paper. Add a coat of Mod Podge on top of your construction paper.
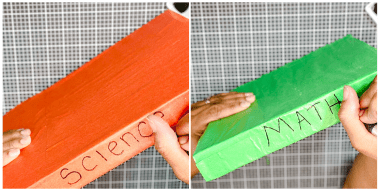
Once it is completely dry use your marker to write the subject on the spine of the book.
Tip: If you are not able to find white boxes you can always cover the color of the box by cutting a strip of white construction paper and gluing it over the box.
Scholastic Clothes Pins/First Day Sign:
 Materials:
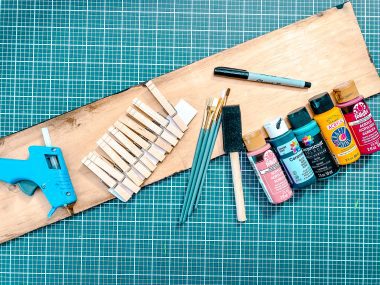
Clothes Pins
Acrylic Paints (White, Blue, Yellow, Pink, Grey, Black)
Fine Point Marker
Foam Paint Brush
Paint Brushes-various sizes
Hot Glue Gun
Wood Board (or any surface)
School Bus Clothes Pin:
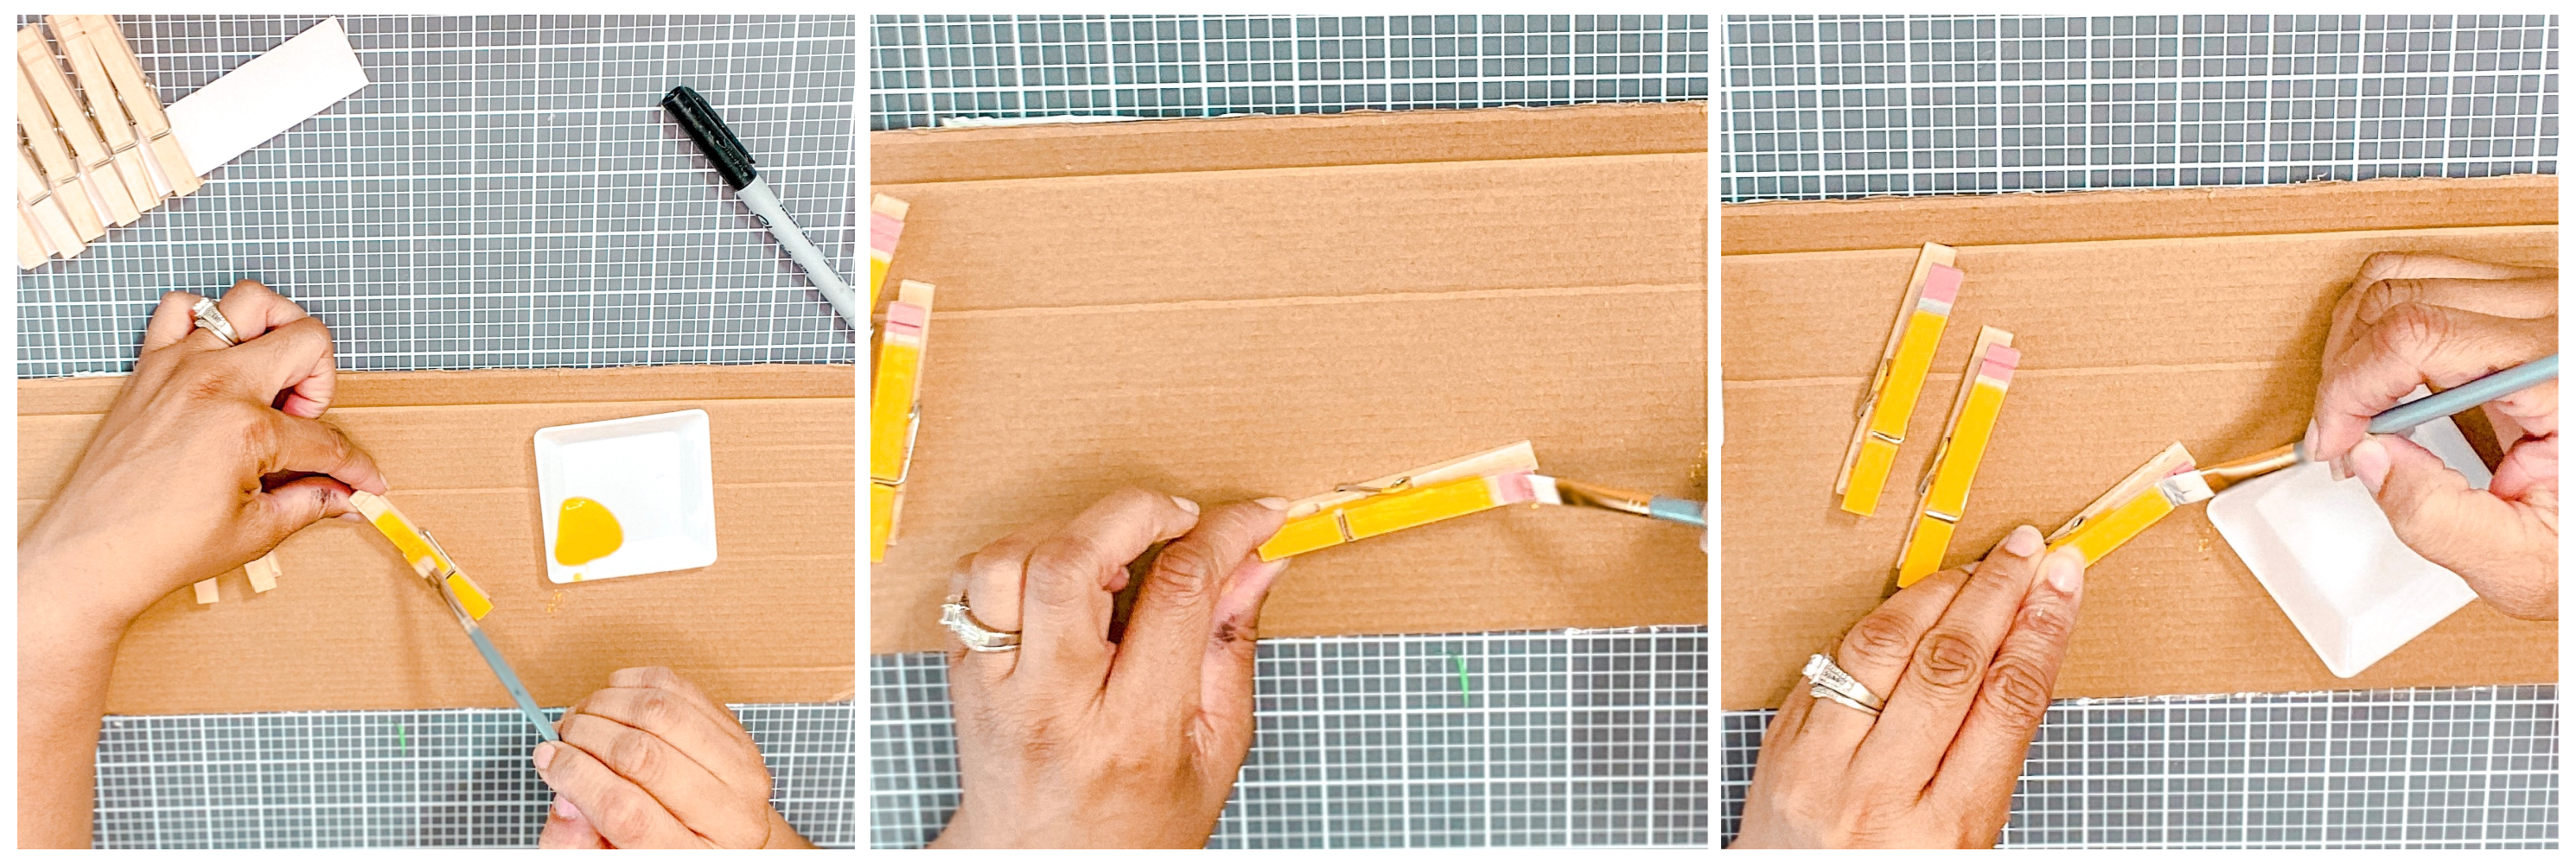
You want to start by painting your clothes pin yellow. My particular clothes pin had two little notches at the end and I used that as a guide to where I wanted to paint the yellow. You could also use small strips of washi tape if you need guidelines.
Next paint the tip of your clothes pin Pink. Make sure you leave a small strip of unpainted area between the yellow and pink. You’re going to paint that area grey. You’ll want to make sure each painted area is dry before moving on to the next.
Ruler Clothes Pin:
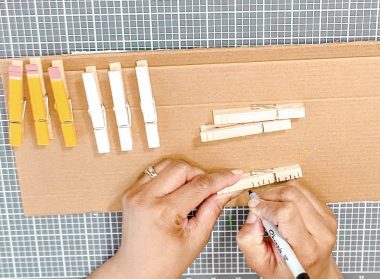
This one is really simple. Use your fine tip marker and create notches along one side of the clothes pin.
Notebook Paper Clothes Pin:
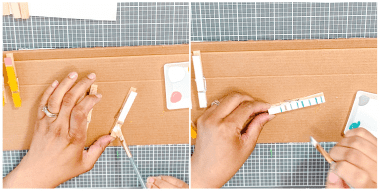
Paint the entire pin white. Once it is dry use the blue paint and a flat tip brush to create the blue lines of a notebook.
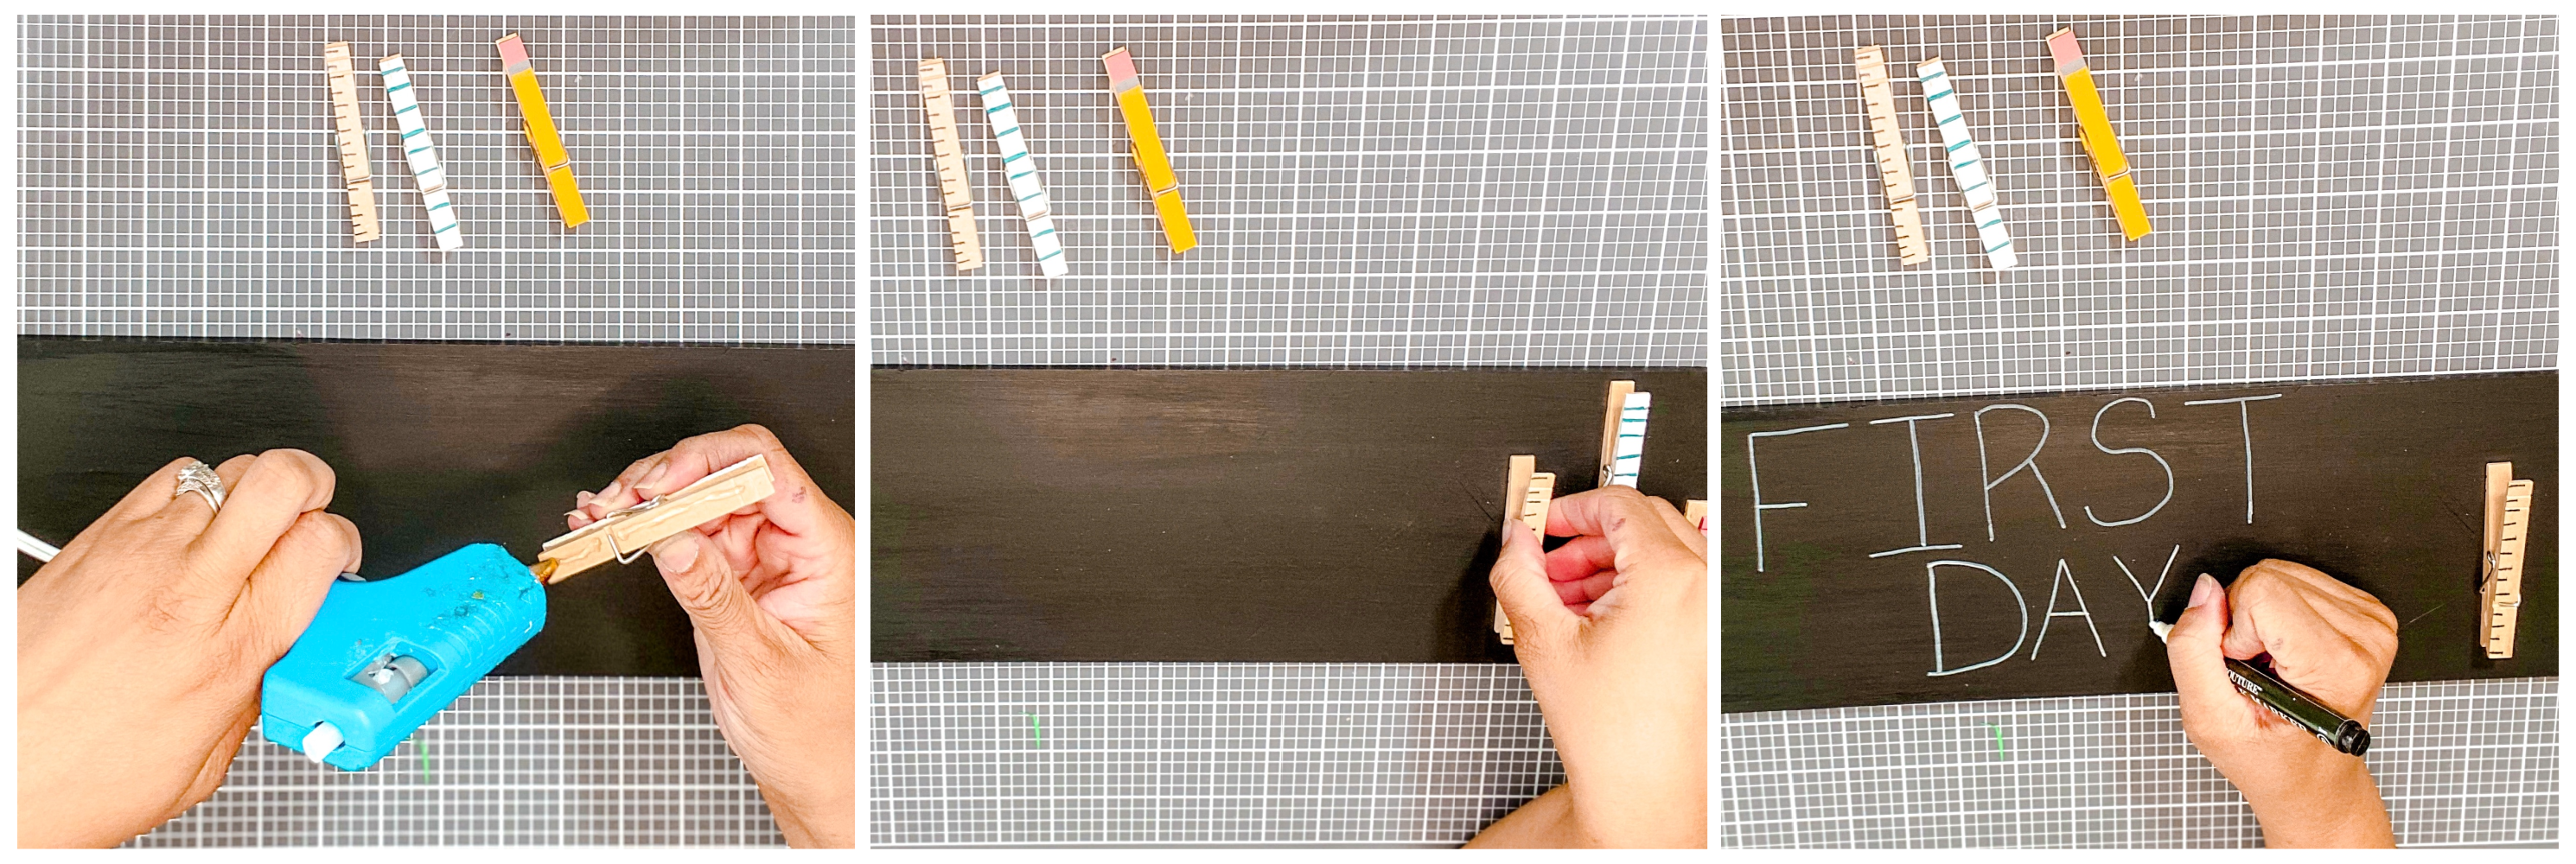
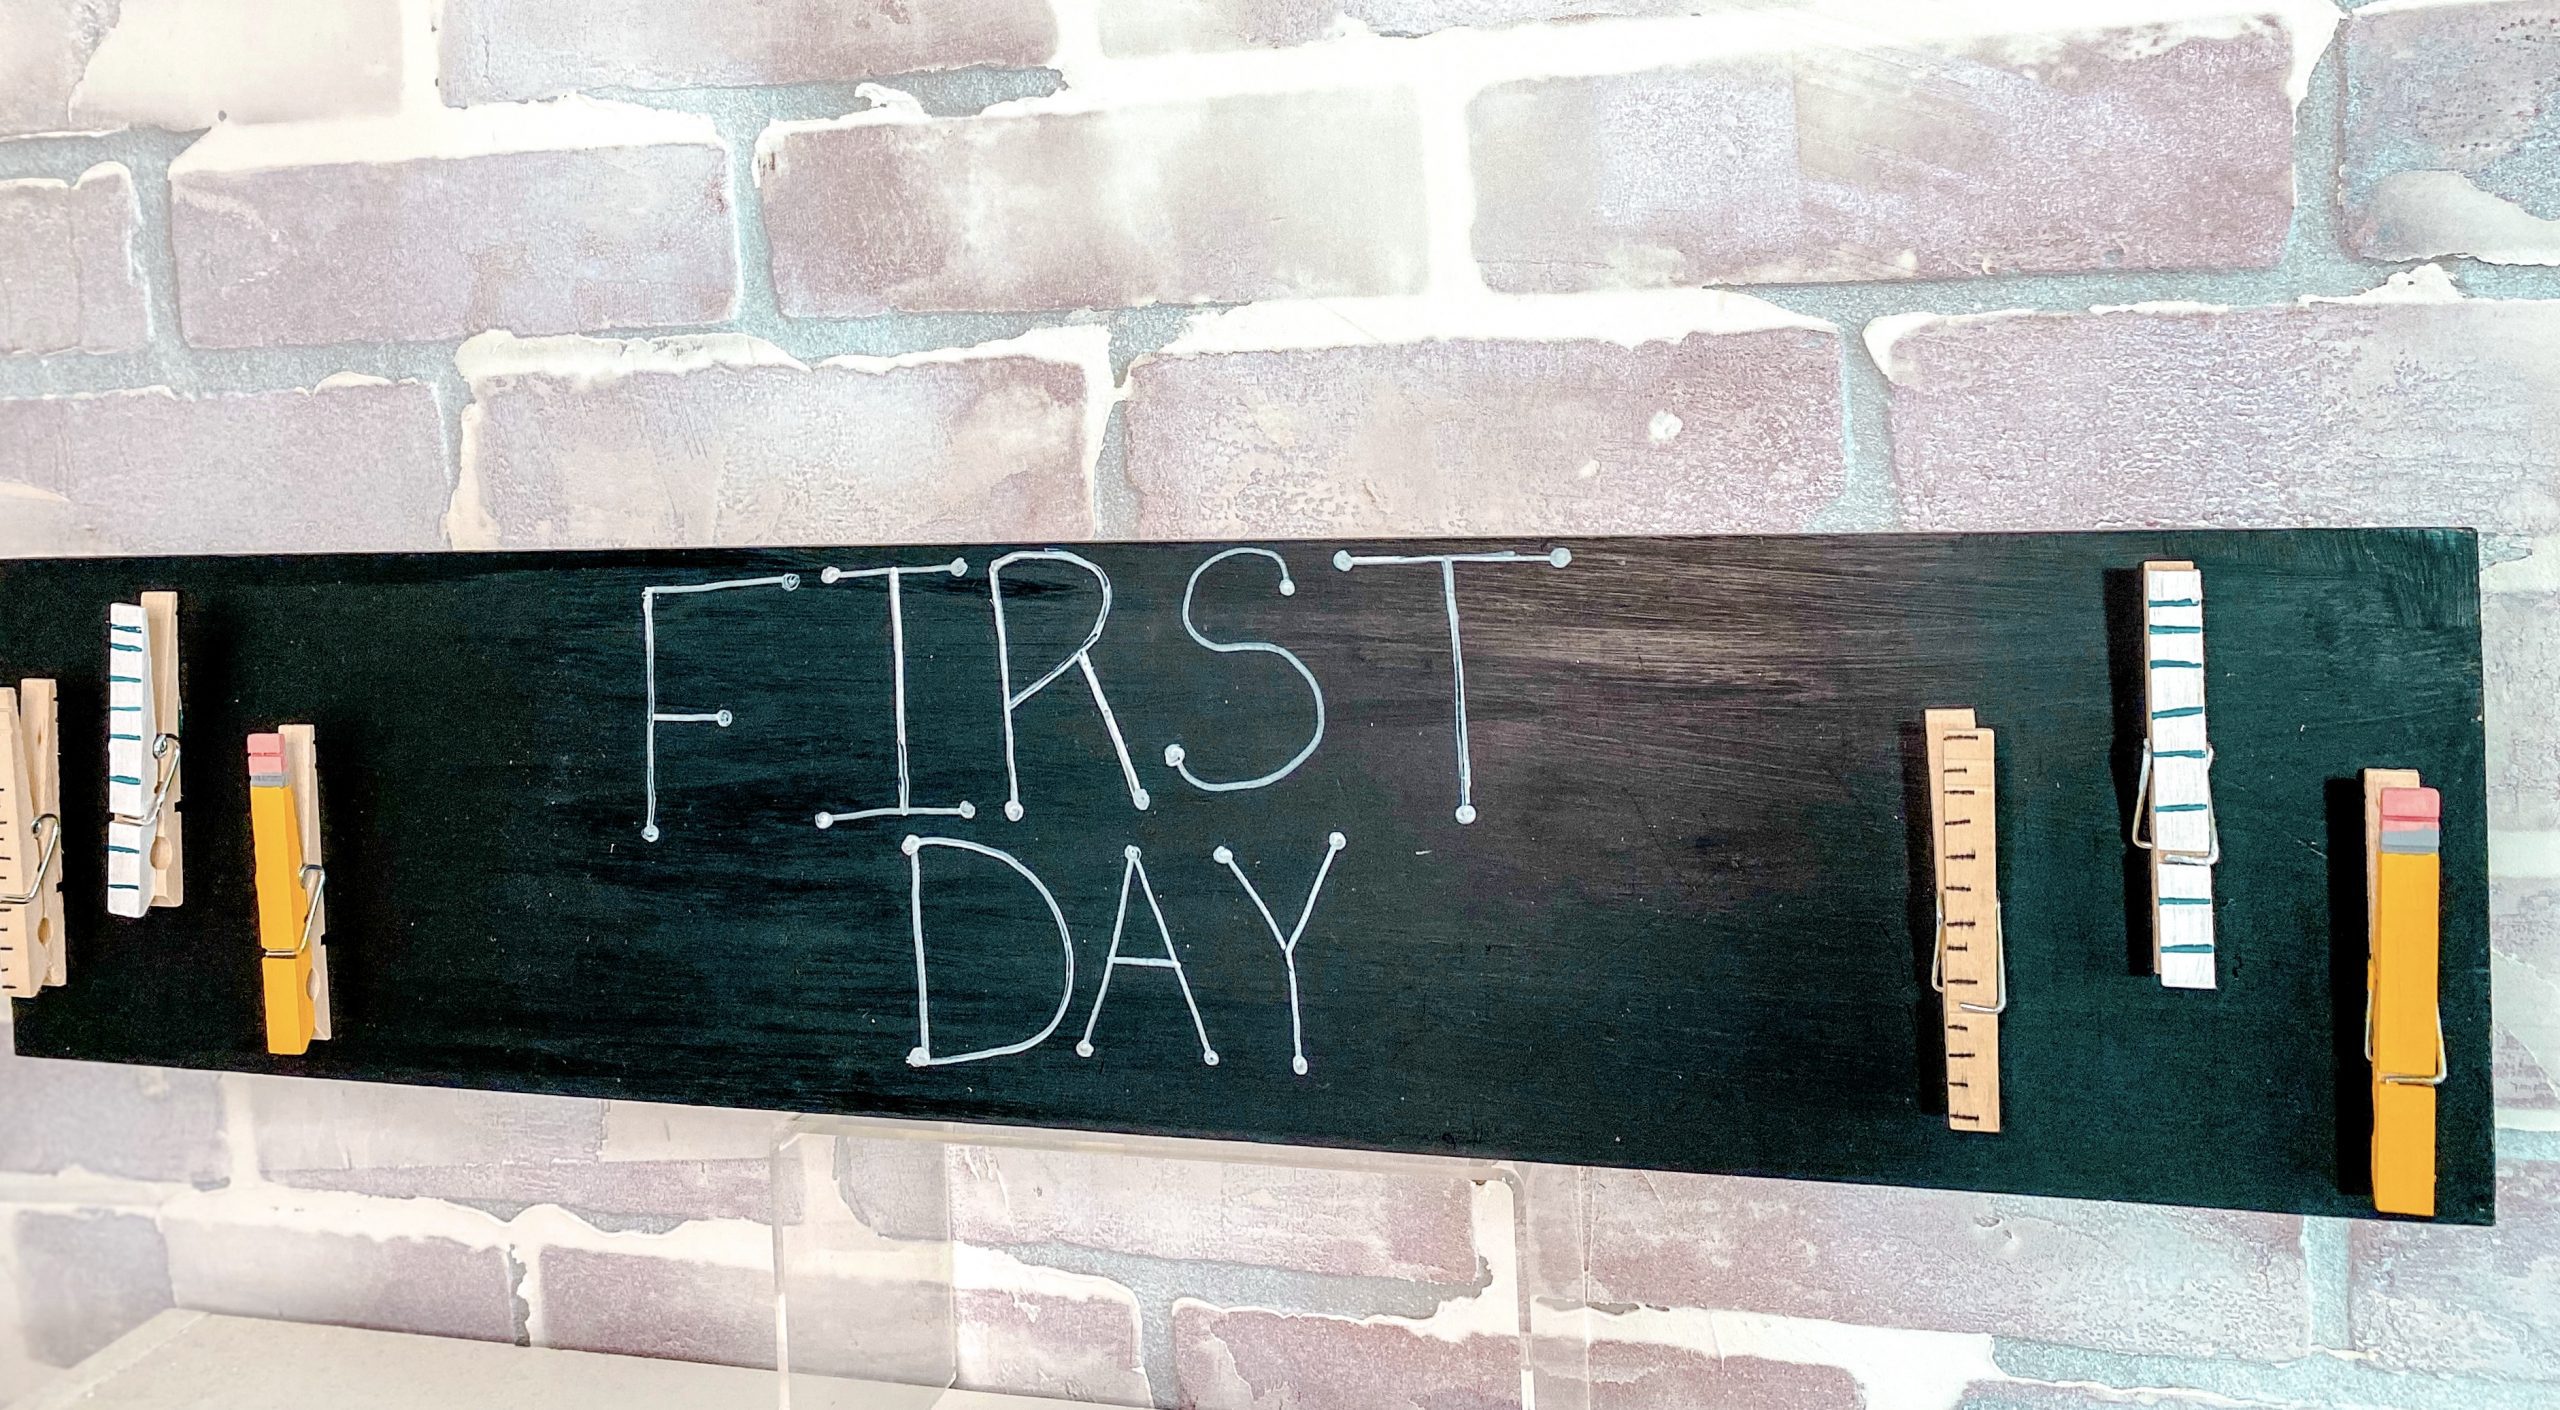
Finally, add your clothes pins to your wood sign (I painted mine with black acrylic paint but can always use chalkboard paint). Hot glue the clothes pins to the board and use a marker to write whatever message you want.
Tip: Not only can you use this board as a prop for First Day of back to school pictures you can also use it as a place to hang pictures taken on the First Day of School.
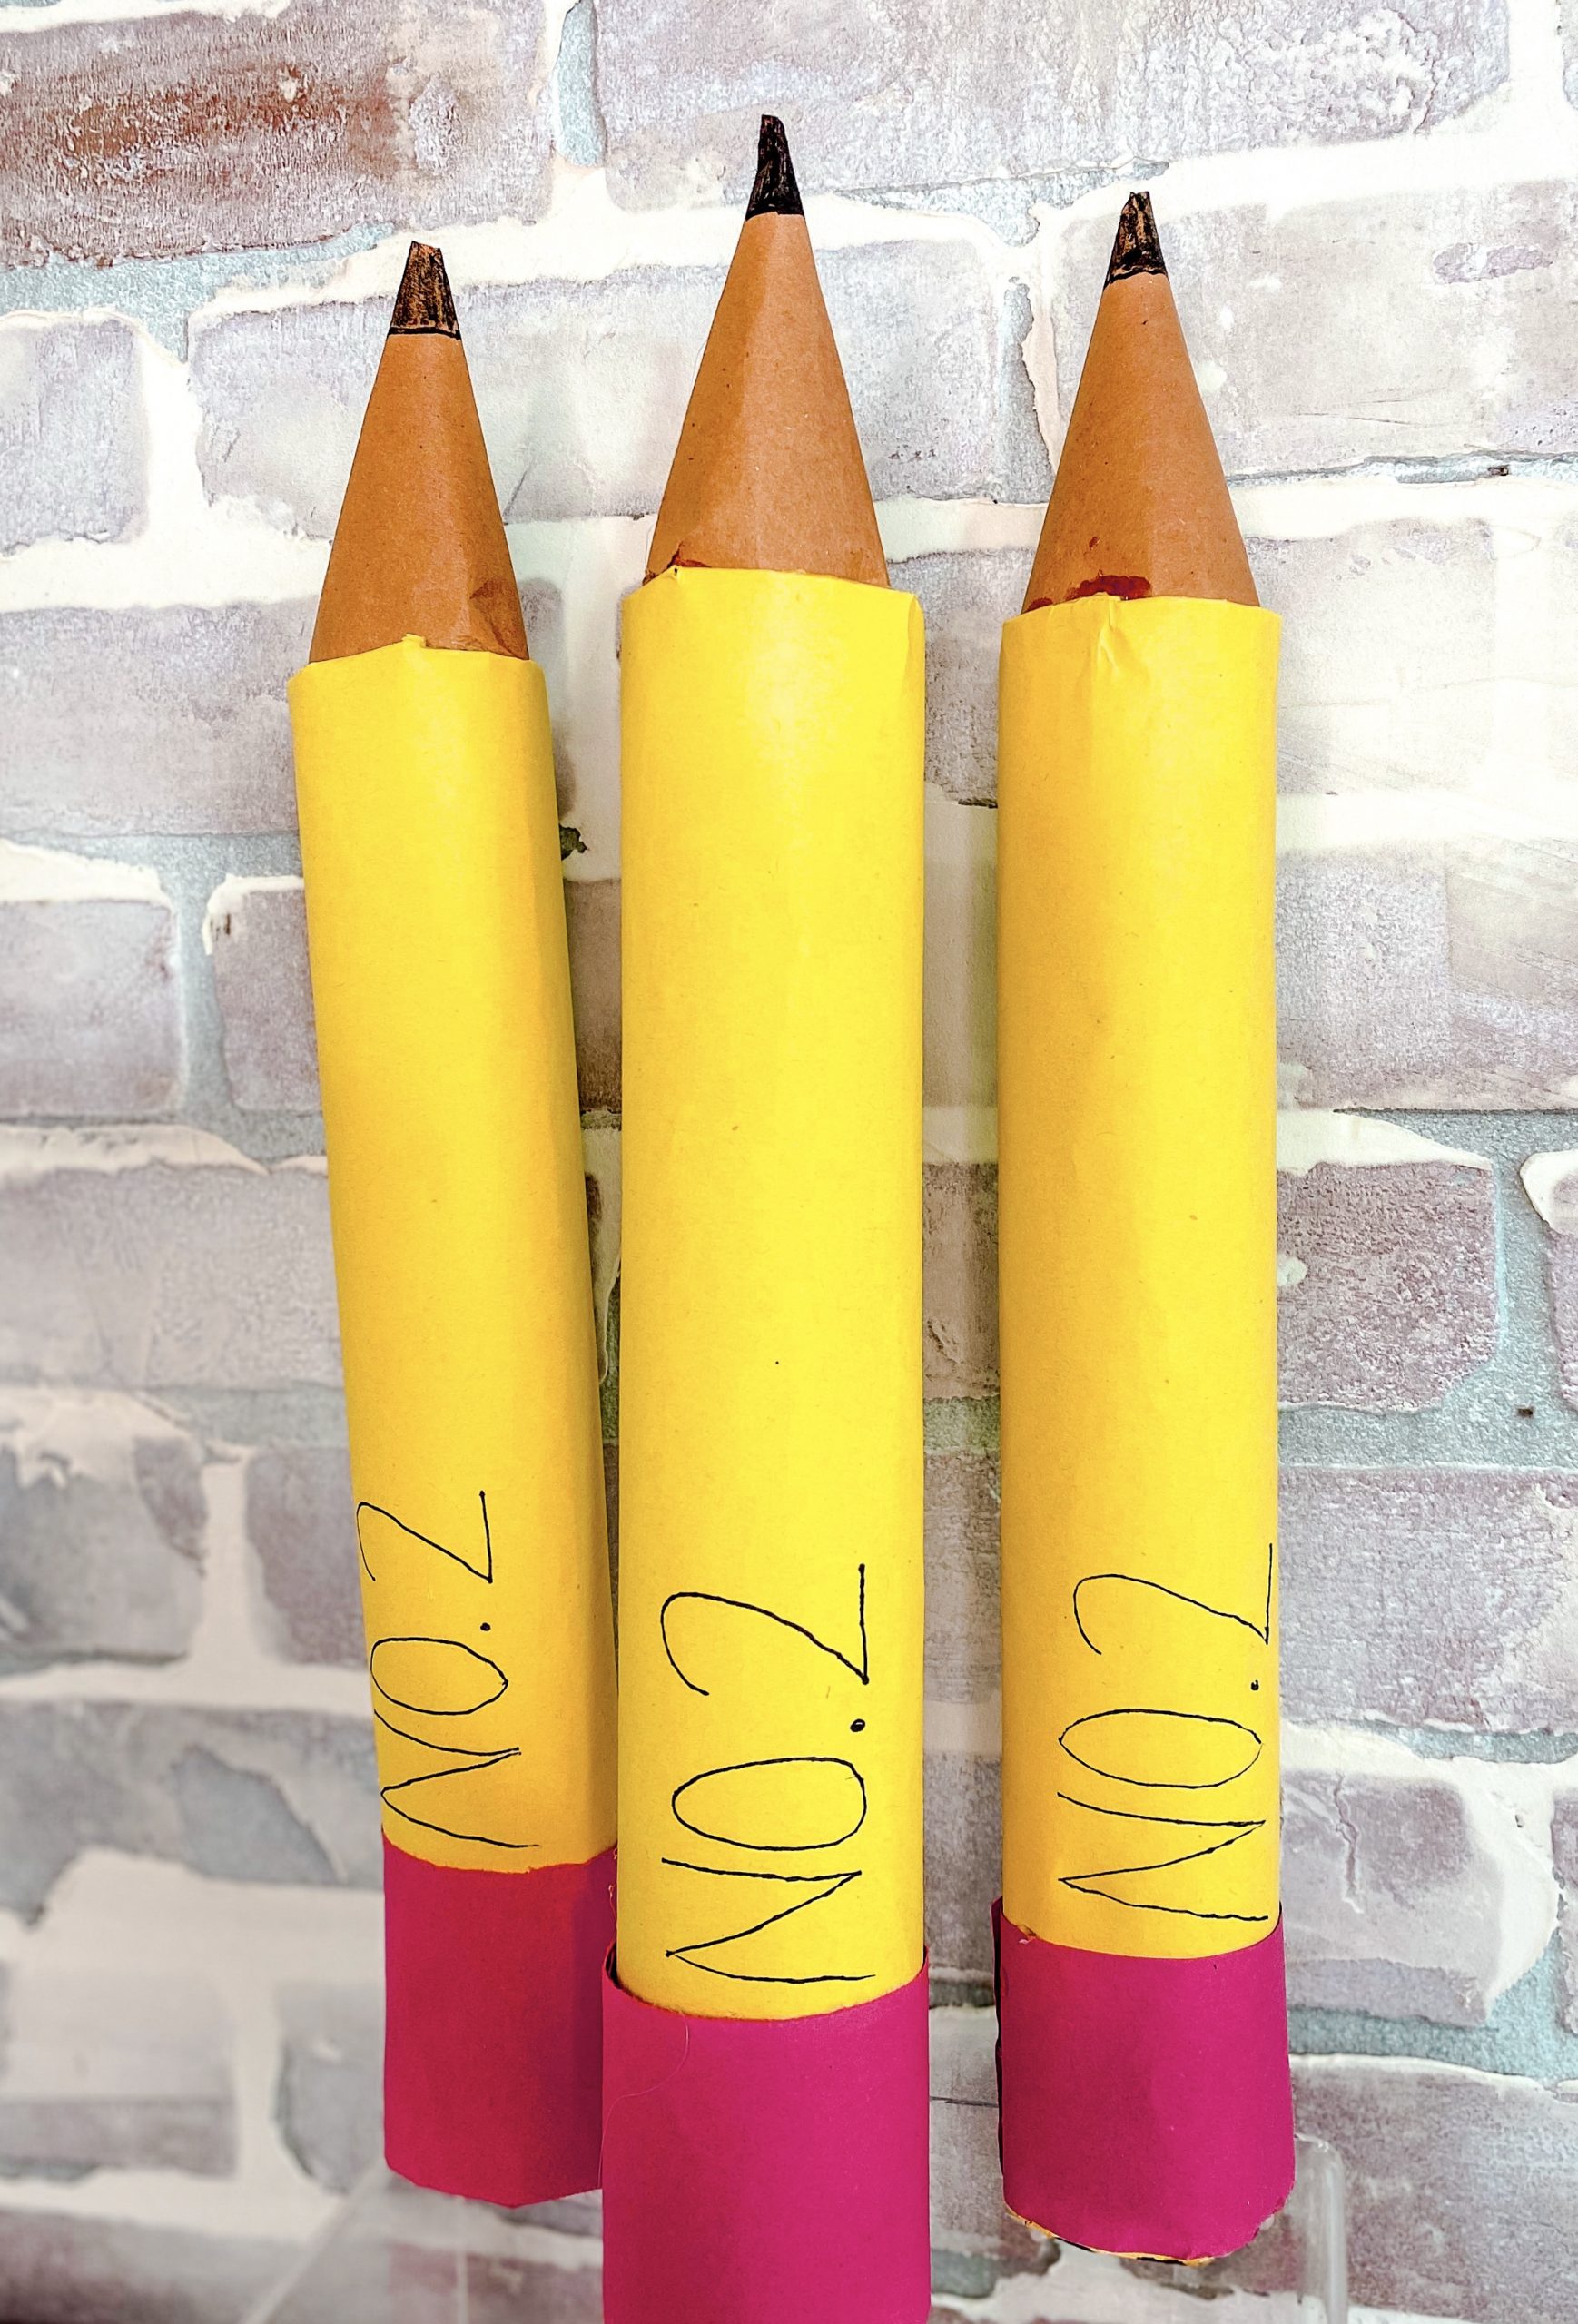
Jumbo Pencil:
 Materials:
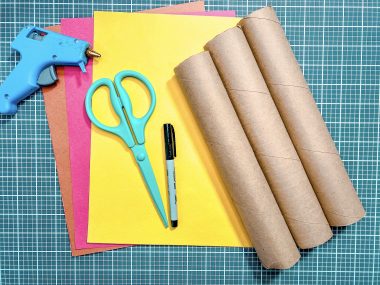
Paper Towel Rolls
Construction Paper (Yellow, Brown, Pink/Red)
Scissors
Hot Glue Gun
Fine Tip Black Marker
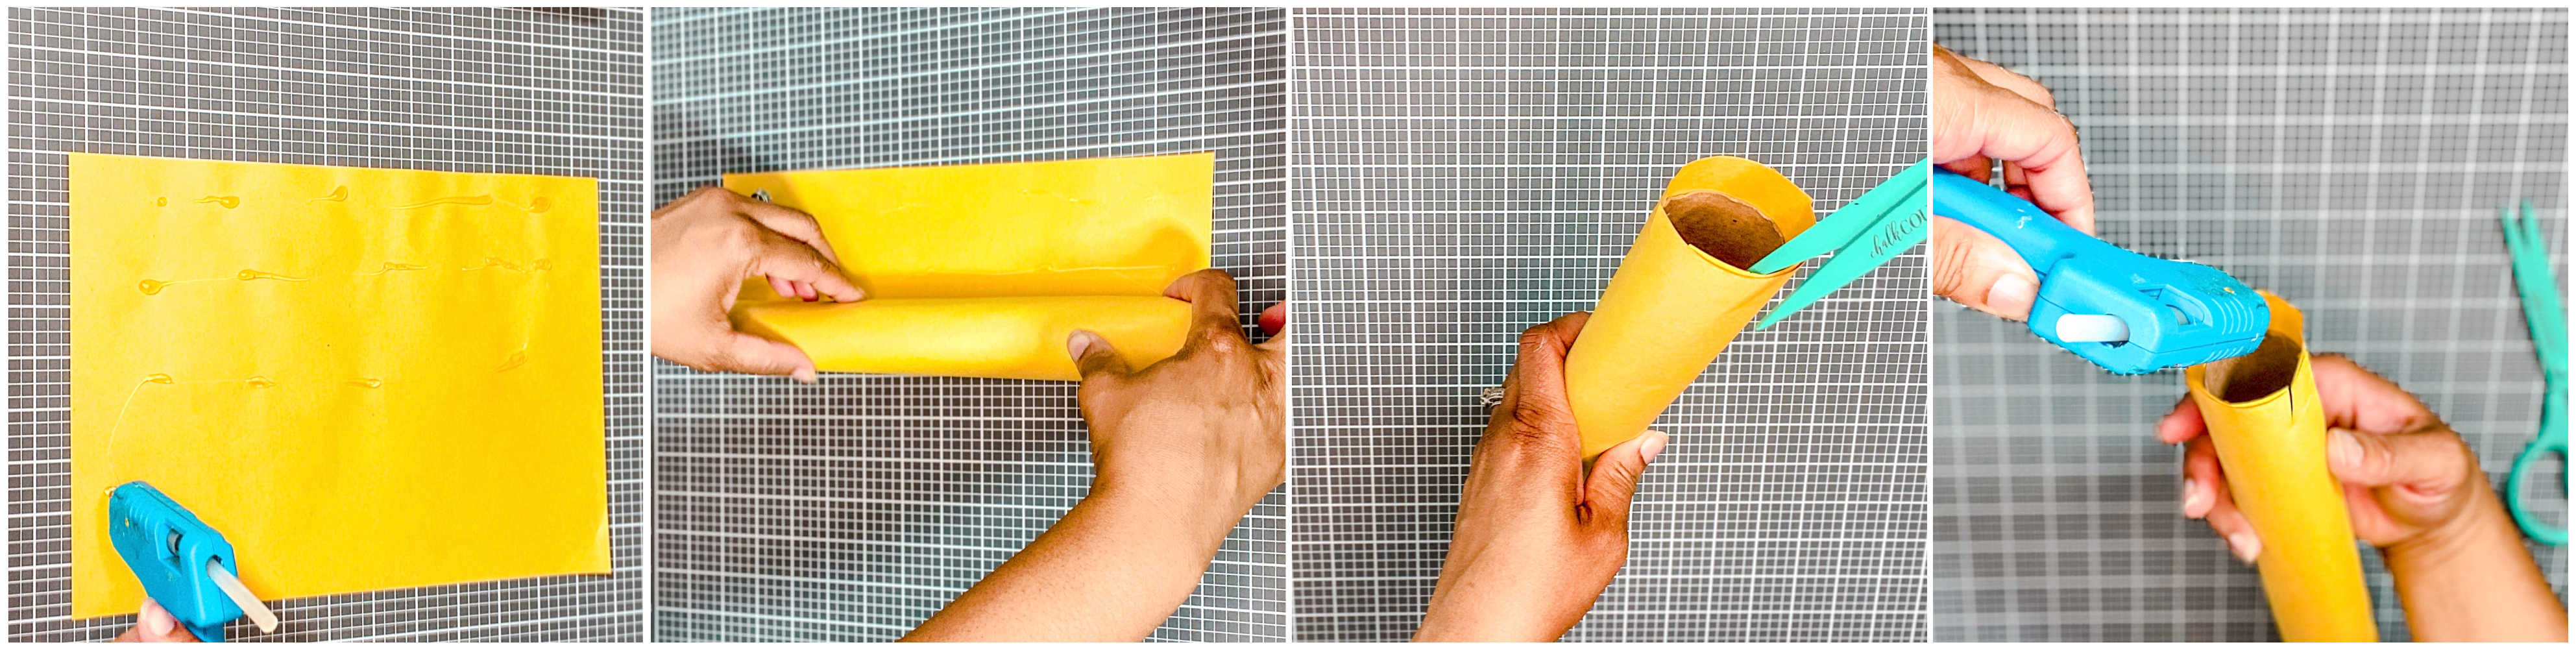
Place glue onto one side of your construction paper. Then wrap the construction paper around the tube. Next cut four slits into the construction paper that extends past the roll and place a drop of glue onto the inside of each tab. Finally, fold each tab into the roll.
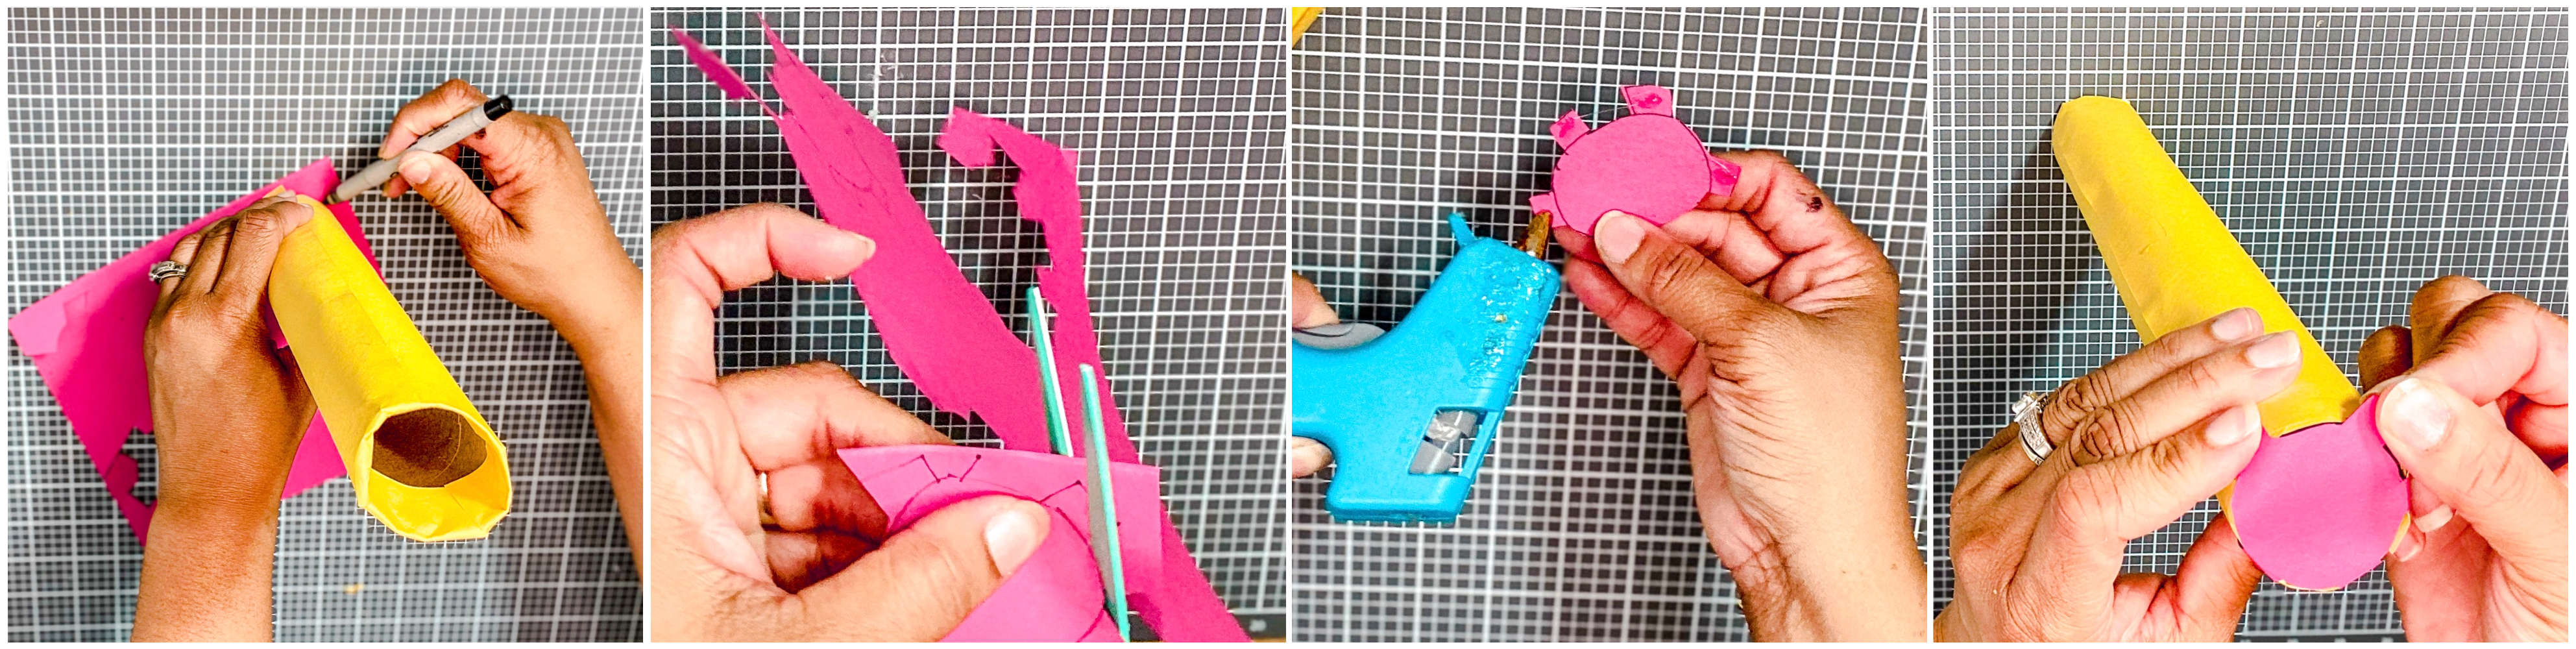
Next, trace the bottom of your roll onto red paper. Then draw 5 tabs around your circle and cut it out. Place a drop of glue onto each tab and attach it to the bottom of your roll.
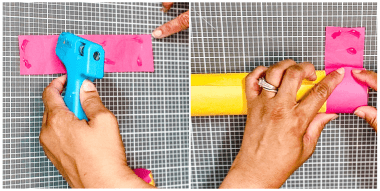
Cut a 2 inch strip of the same red paper and wrap it around the base of the tube (covering the red tabs).
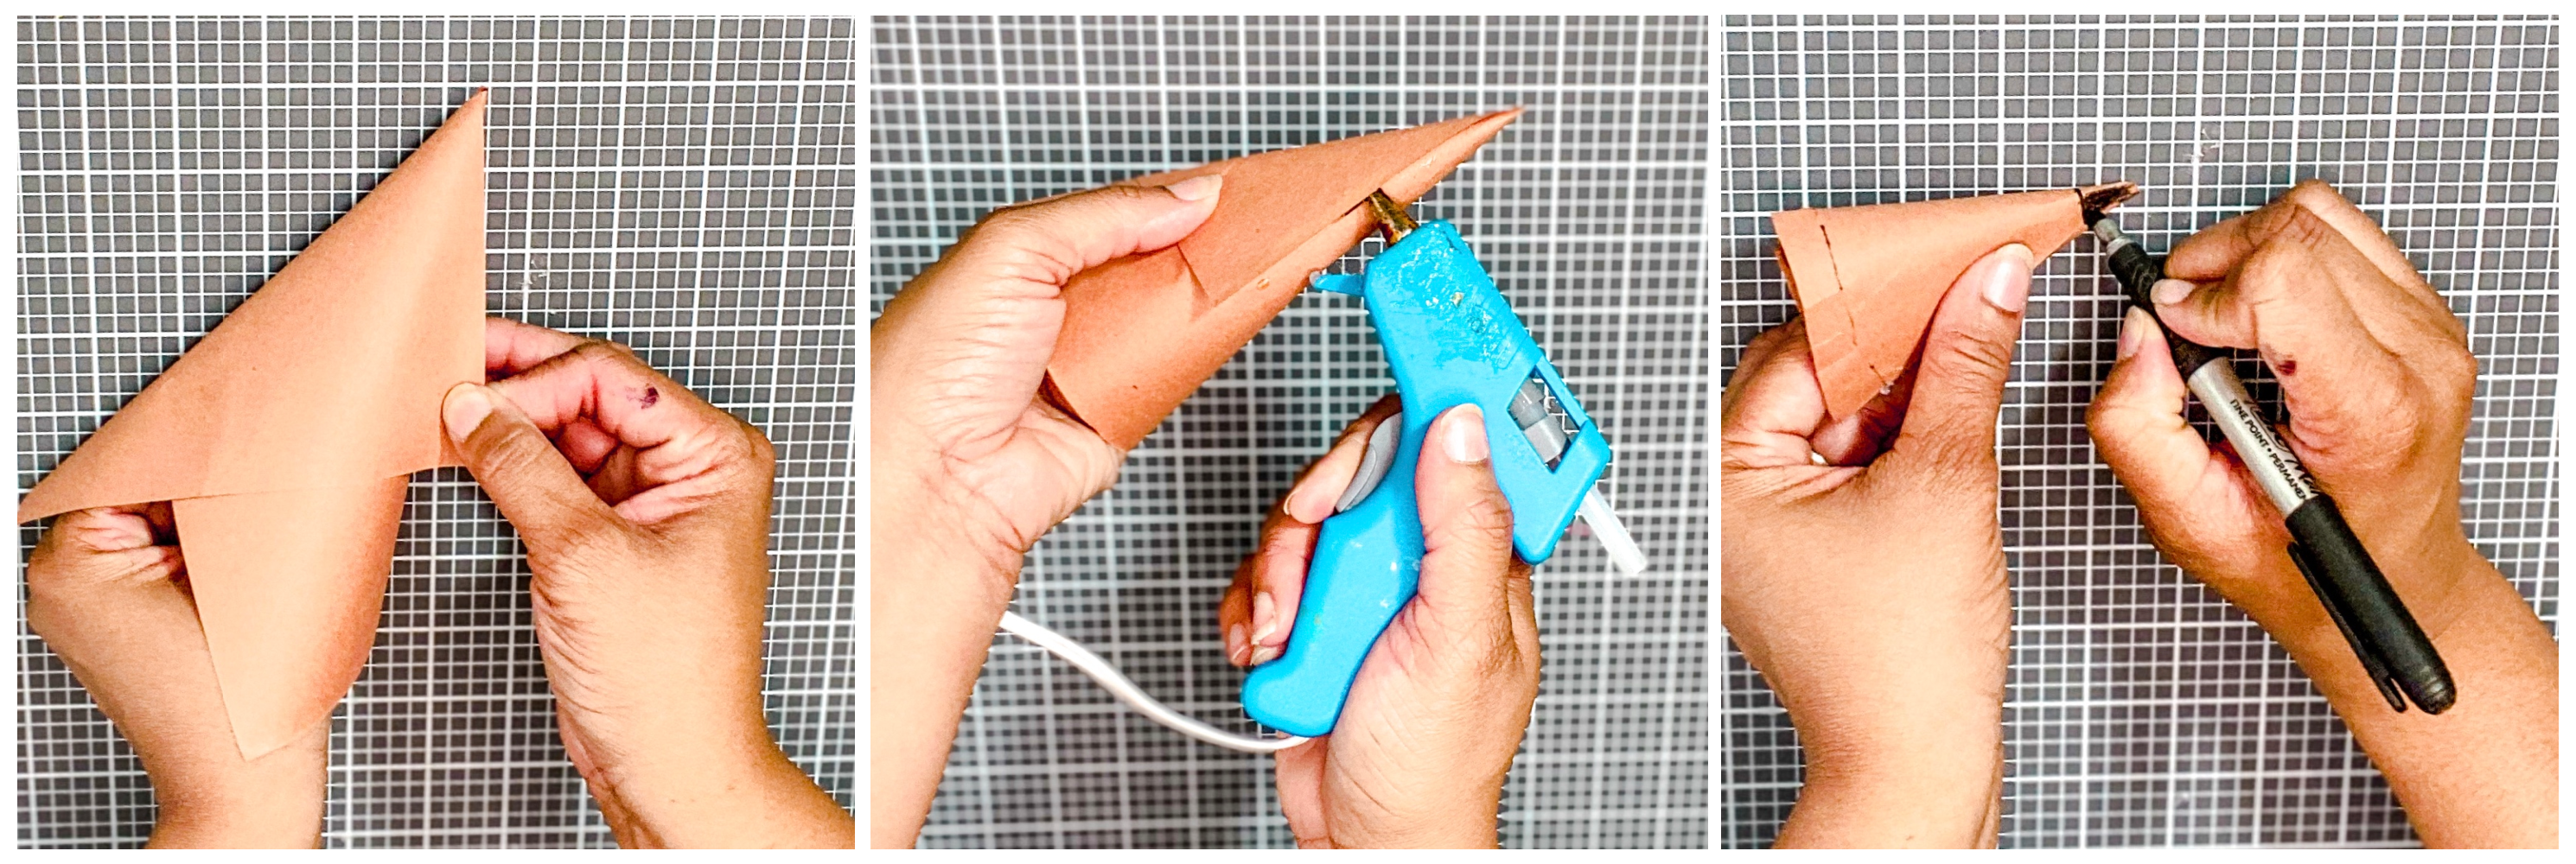
Finally, take a half sheet of brown construction paper and roll it into a cone. Glue the sides for it to stay in place. Color the tip of the cone black.

Insert the point of the cone into the open end of the tube and trace around the base of the cone. Cut about a 1/2 inch below the line.
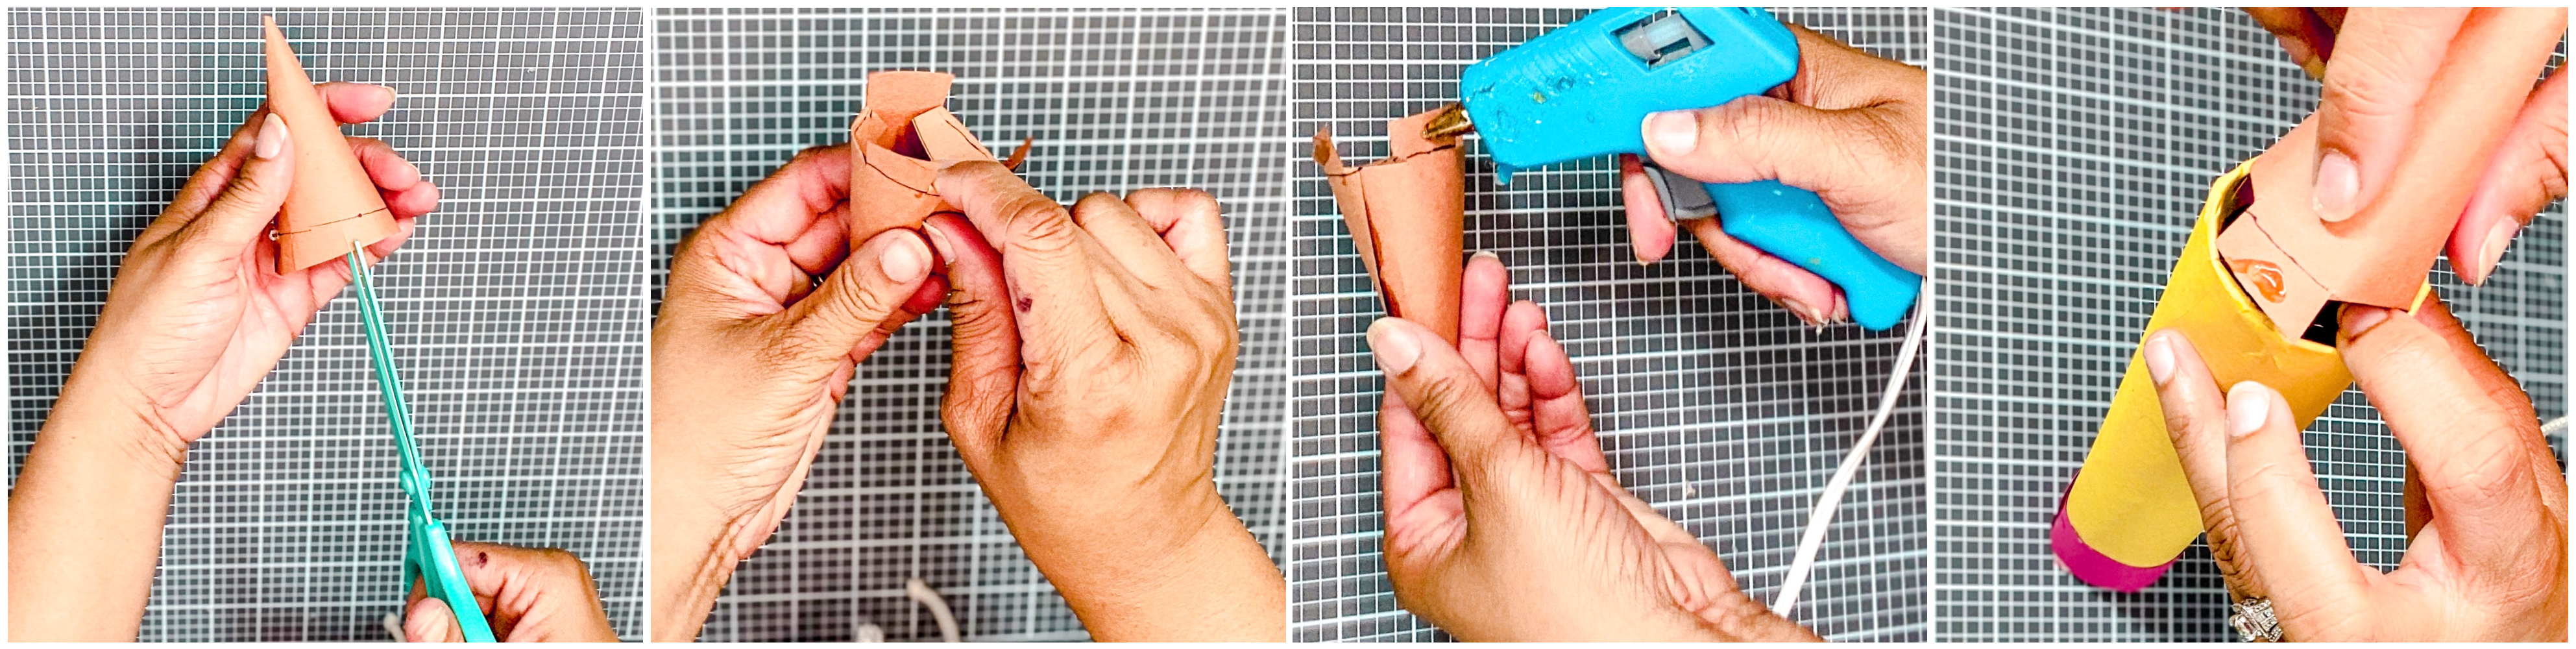
You’ll then want to cut 5 slits at the base of the cone up to the line. Fold every other tab (3 of the tabs will be folded down) and apply glue to the other 3 tabs. Insert the tabs into the open end of the tube and press in place.
Tip: You can also create colored pencils by using different color construction paper to wrap your tube and coloring the tip the same color.
I hope you enjoyed this tutorial. I can’t wait to see all of your back to school photos!


These are so great! Caffie I enjoyed this a lot and you are such a crafty lady!
🤗🤗🤗Thank you Suzanne