


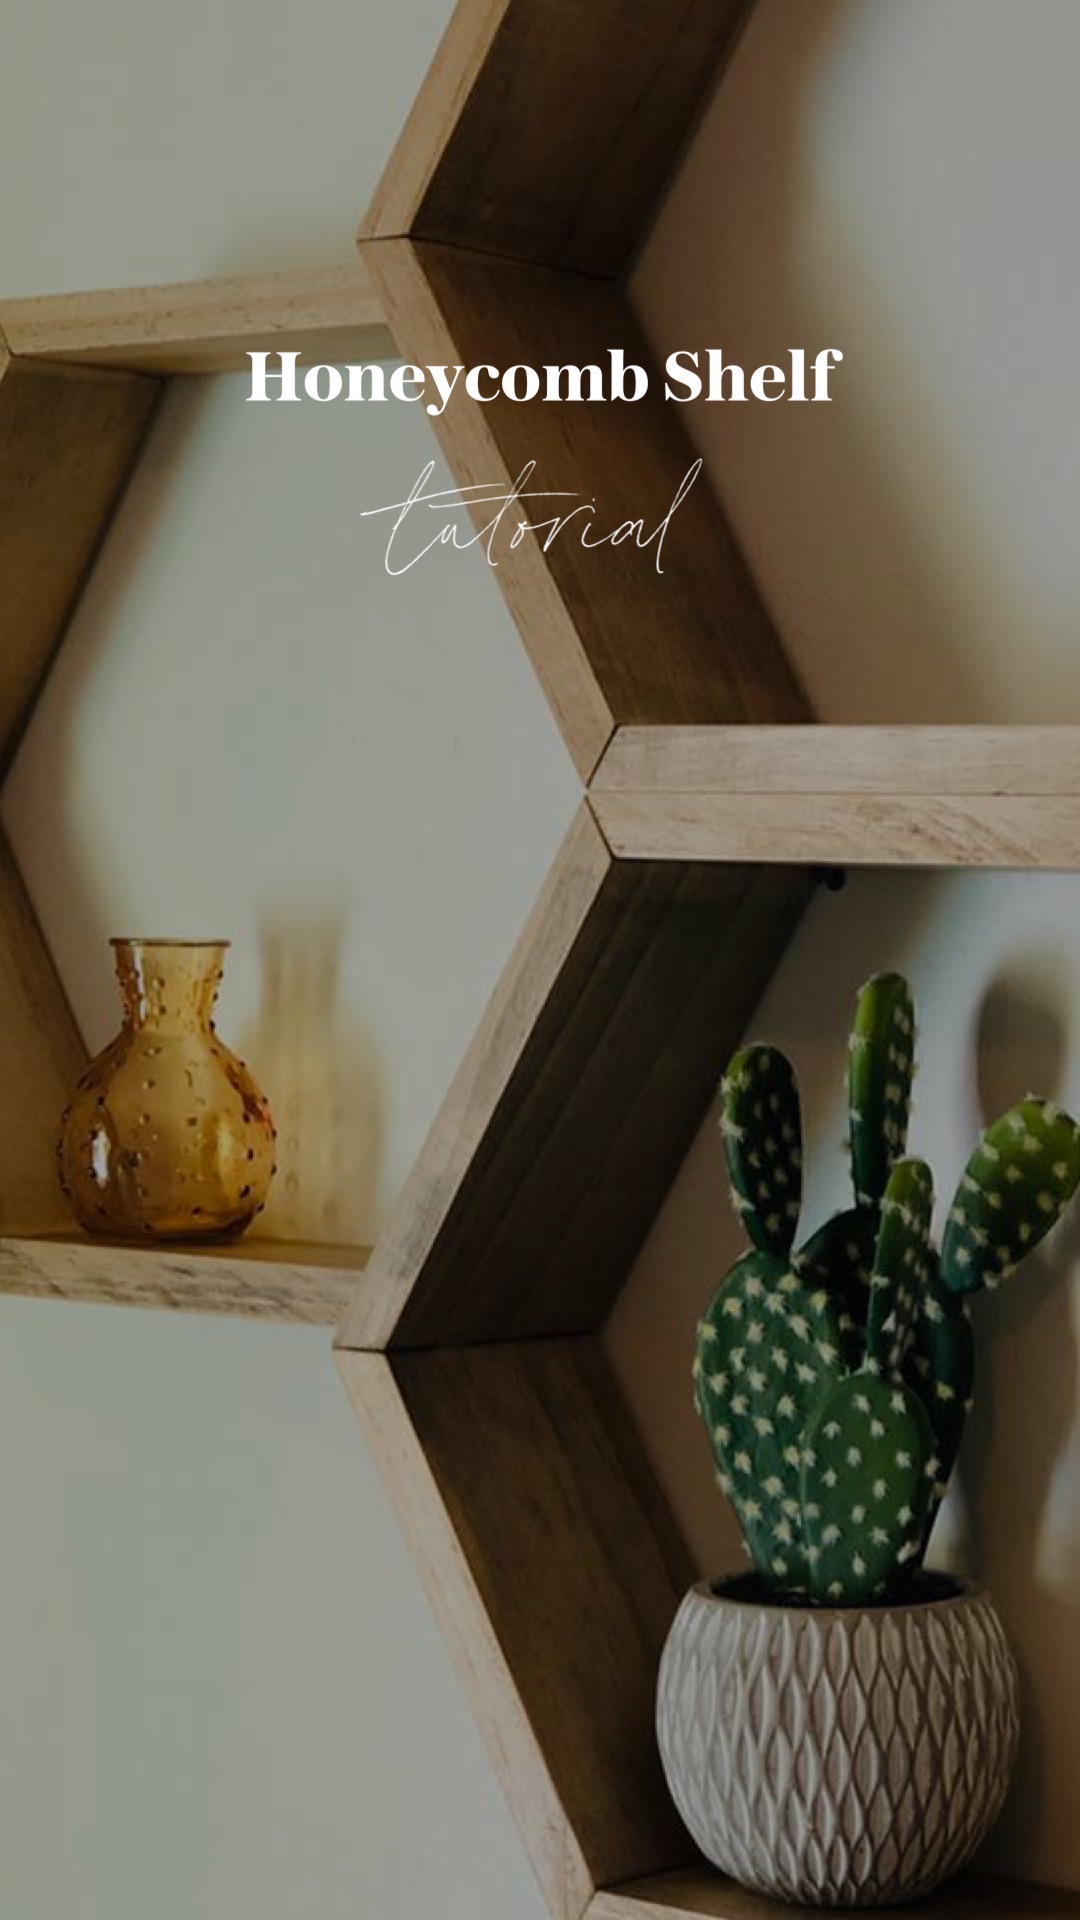
The attendees at our annual Bloom event each received a honeycomb shelf kit! Here is a step-by-step tutorial how to assemble your shelf!
What you’ll need to assemble your honeycomb shelf:
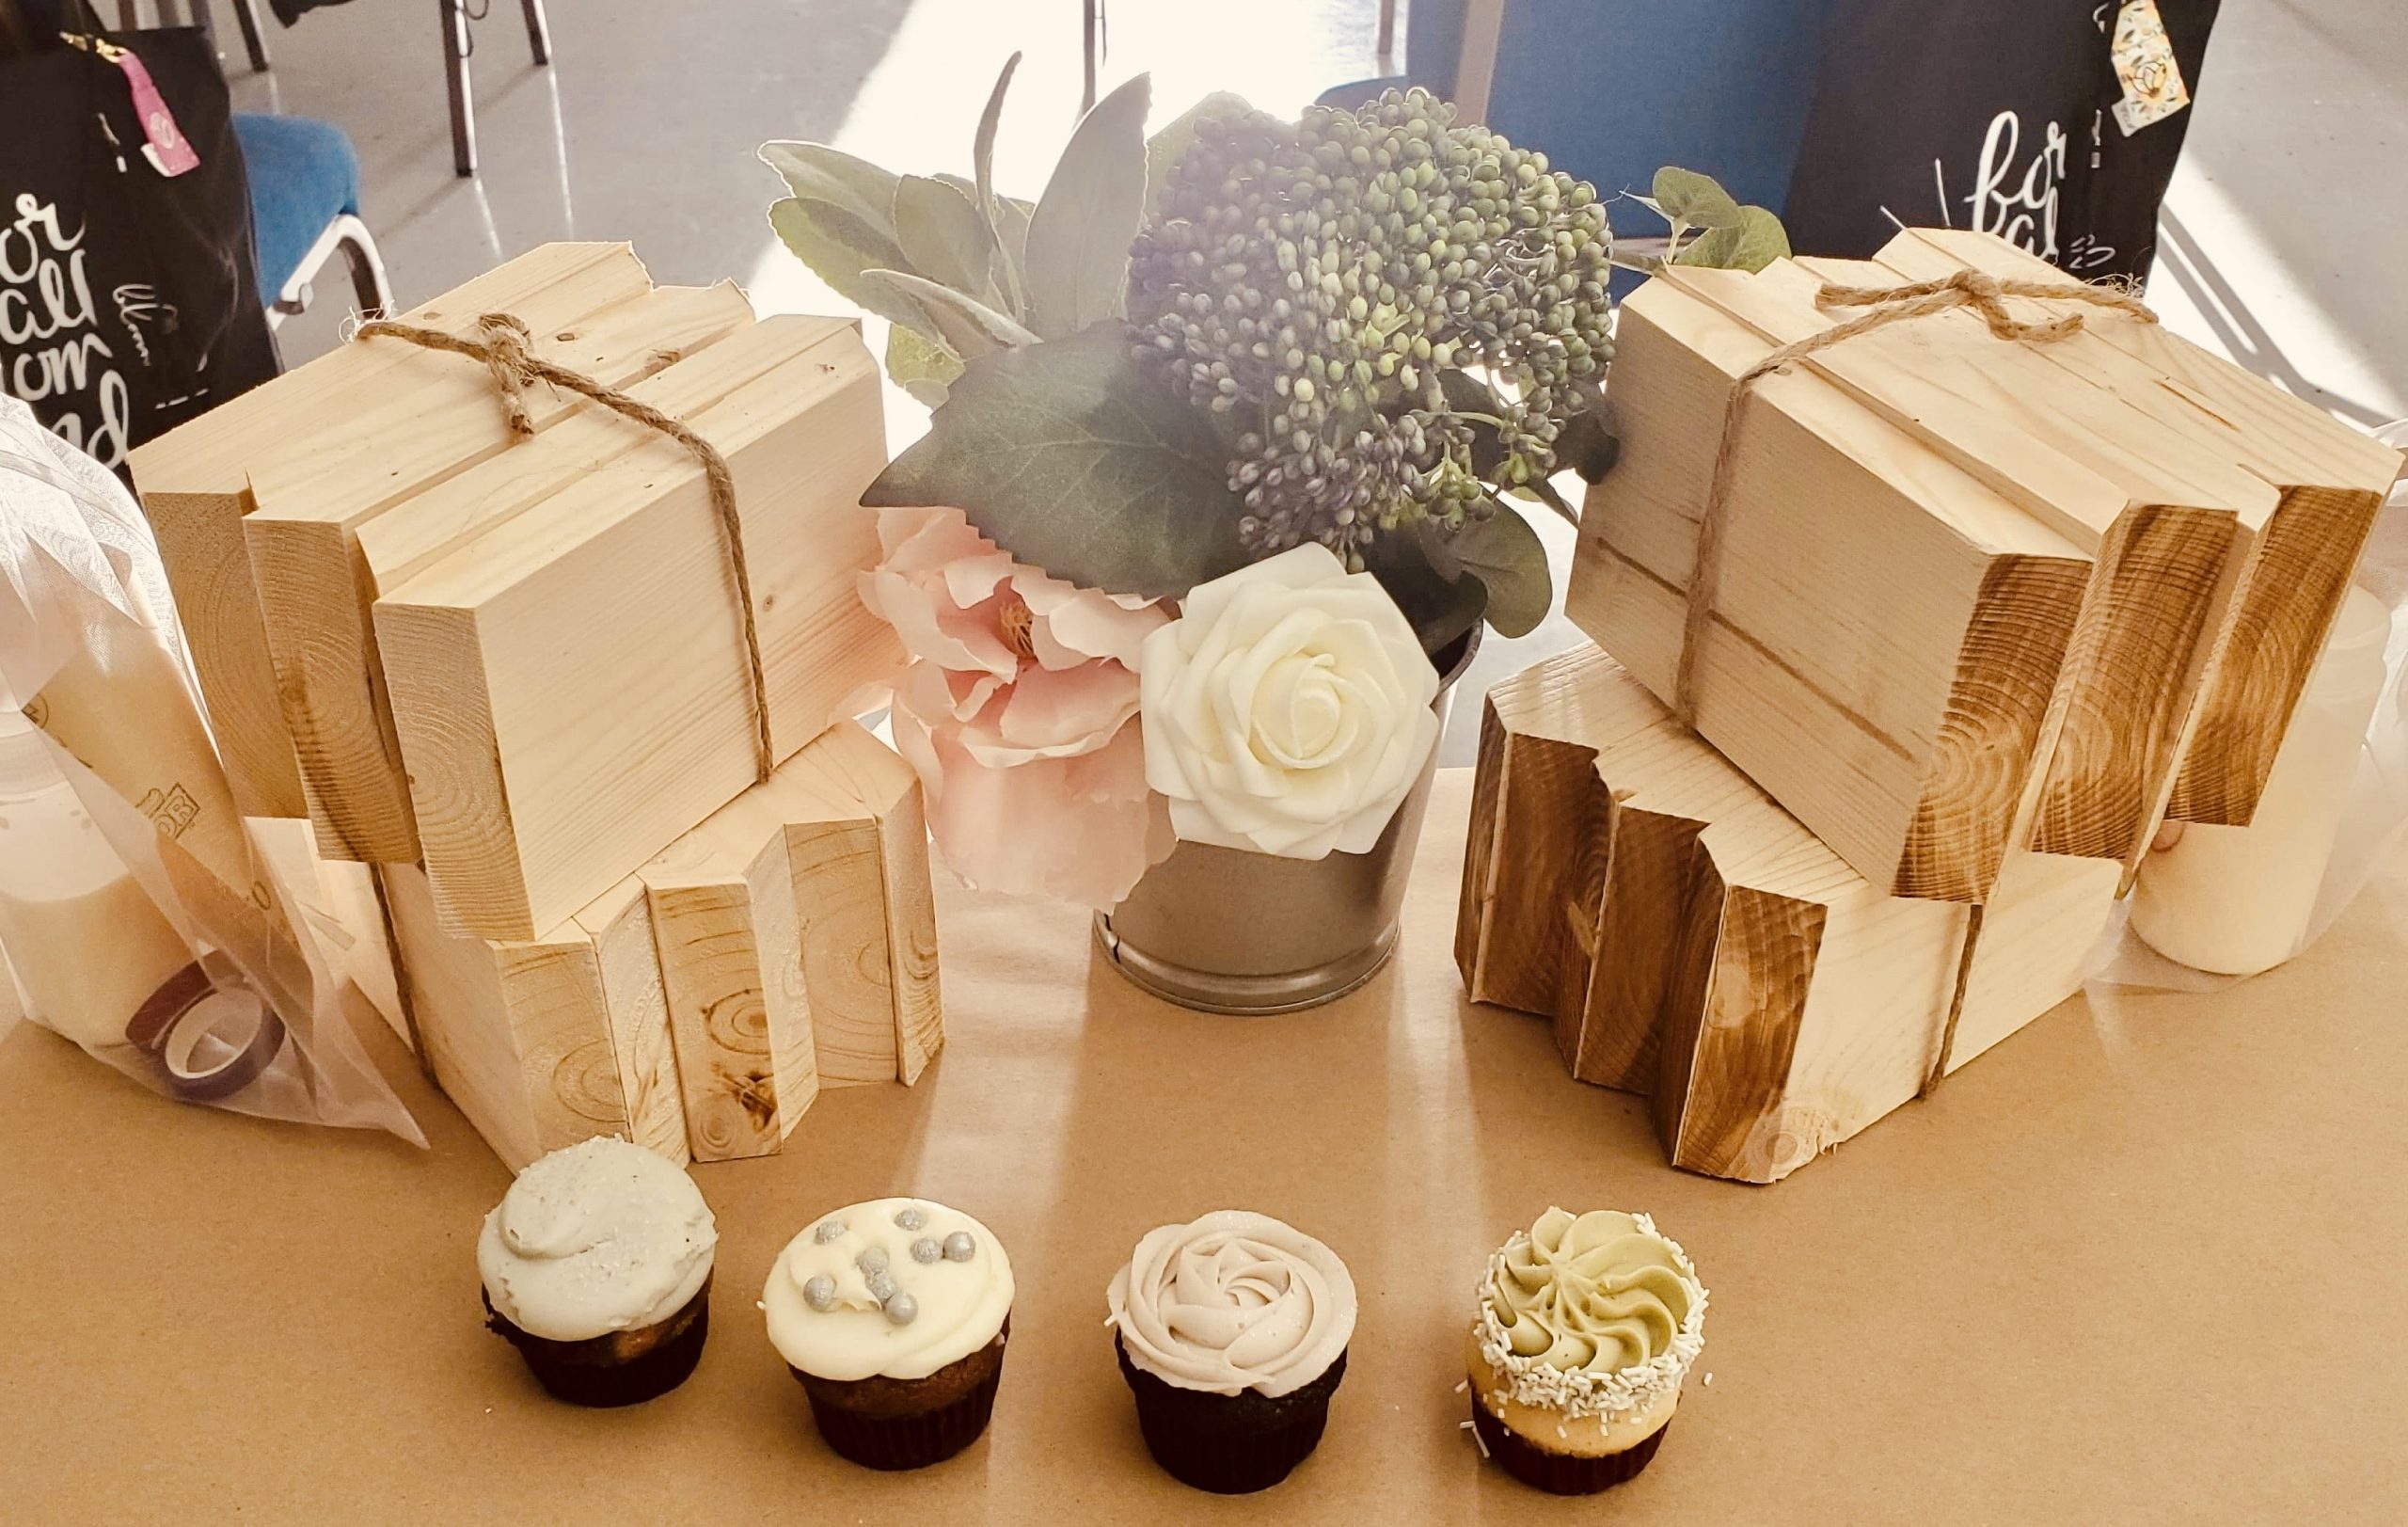
- Wood bundle kit from Orlando Mom Collective (click here to purchase a kit for $12 +shipping!)
- Washi or Masking Tape
- Wood Glue
- Paper Towel
- Sandpaper
- Stain or Paint, if you wish
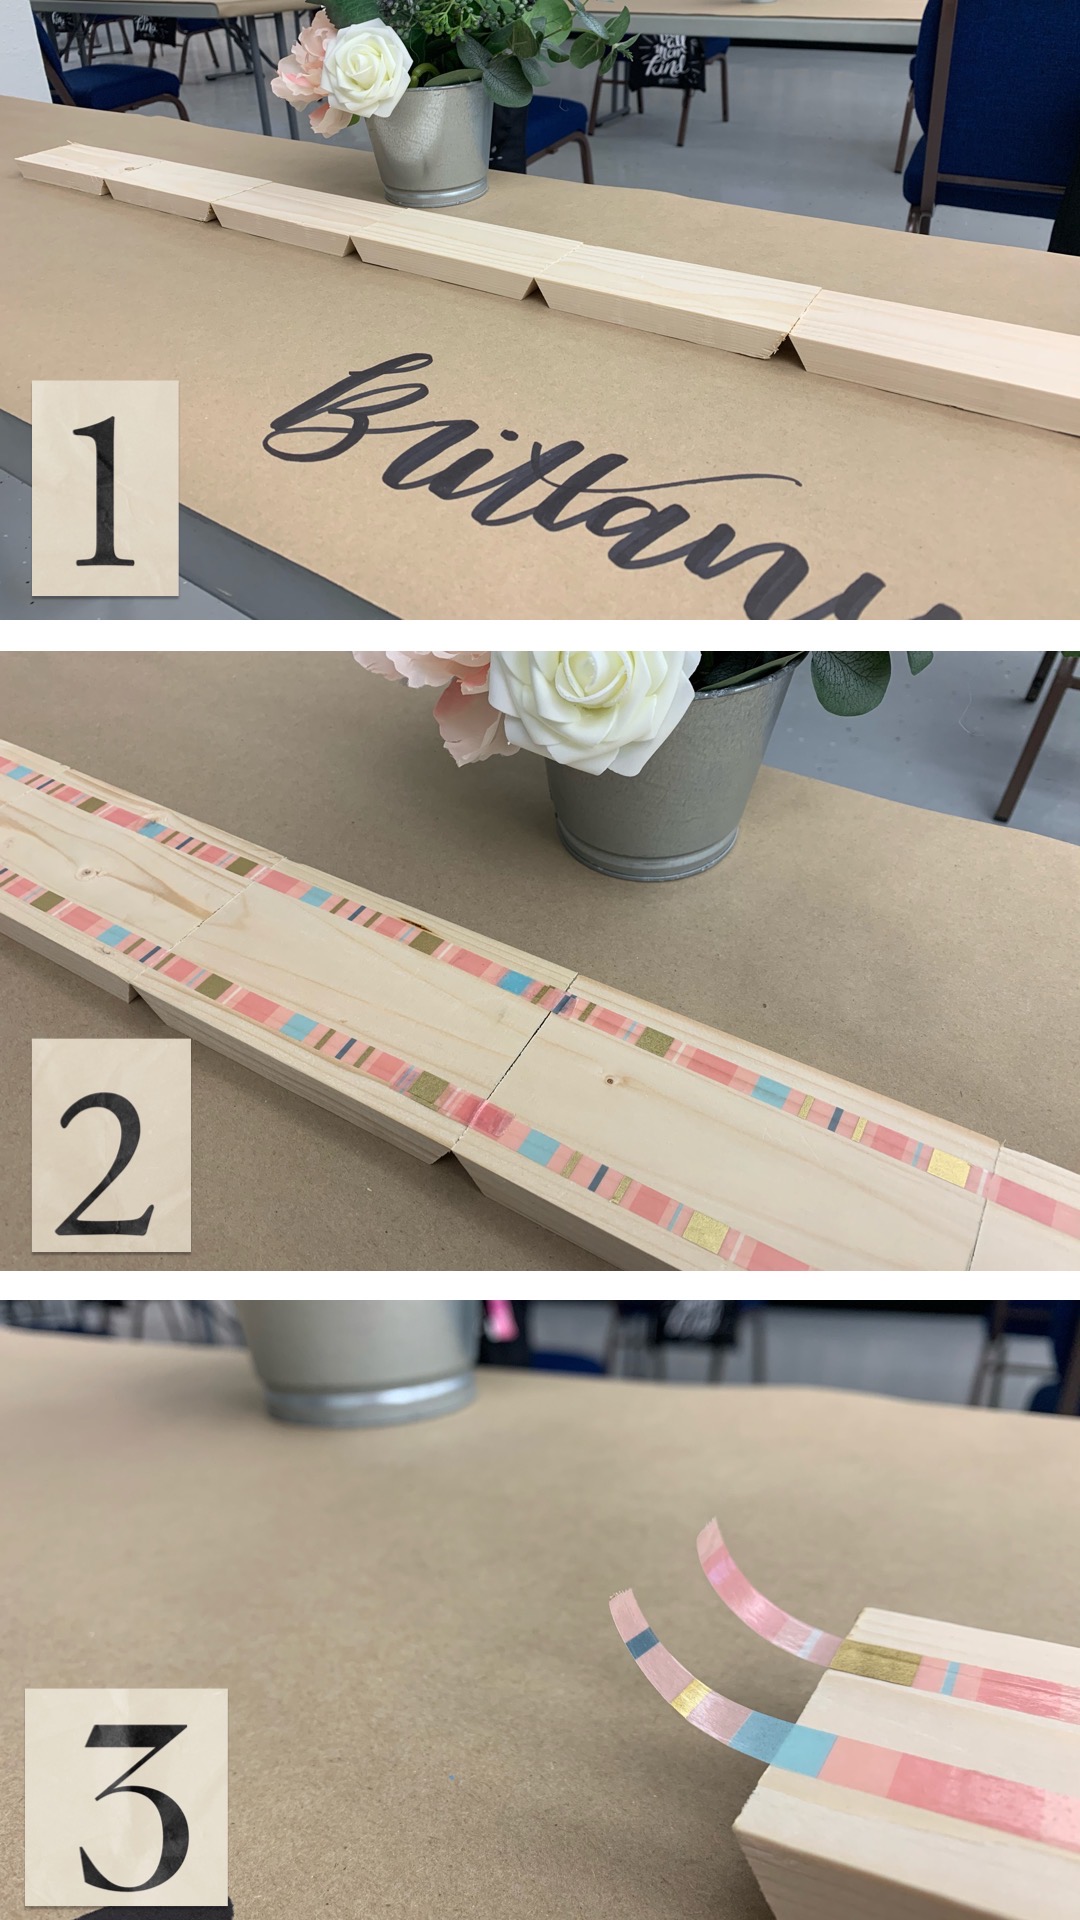
Step 1
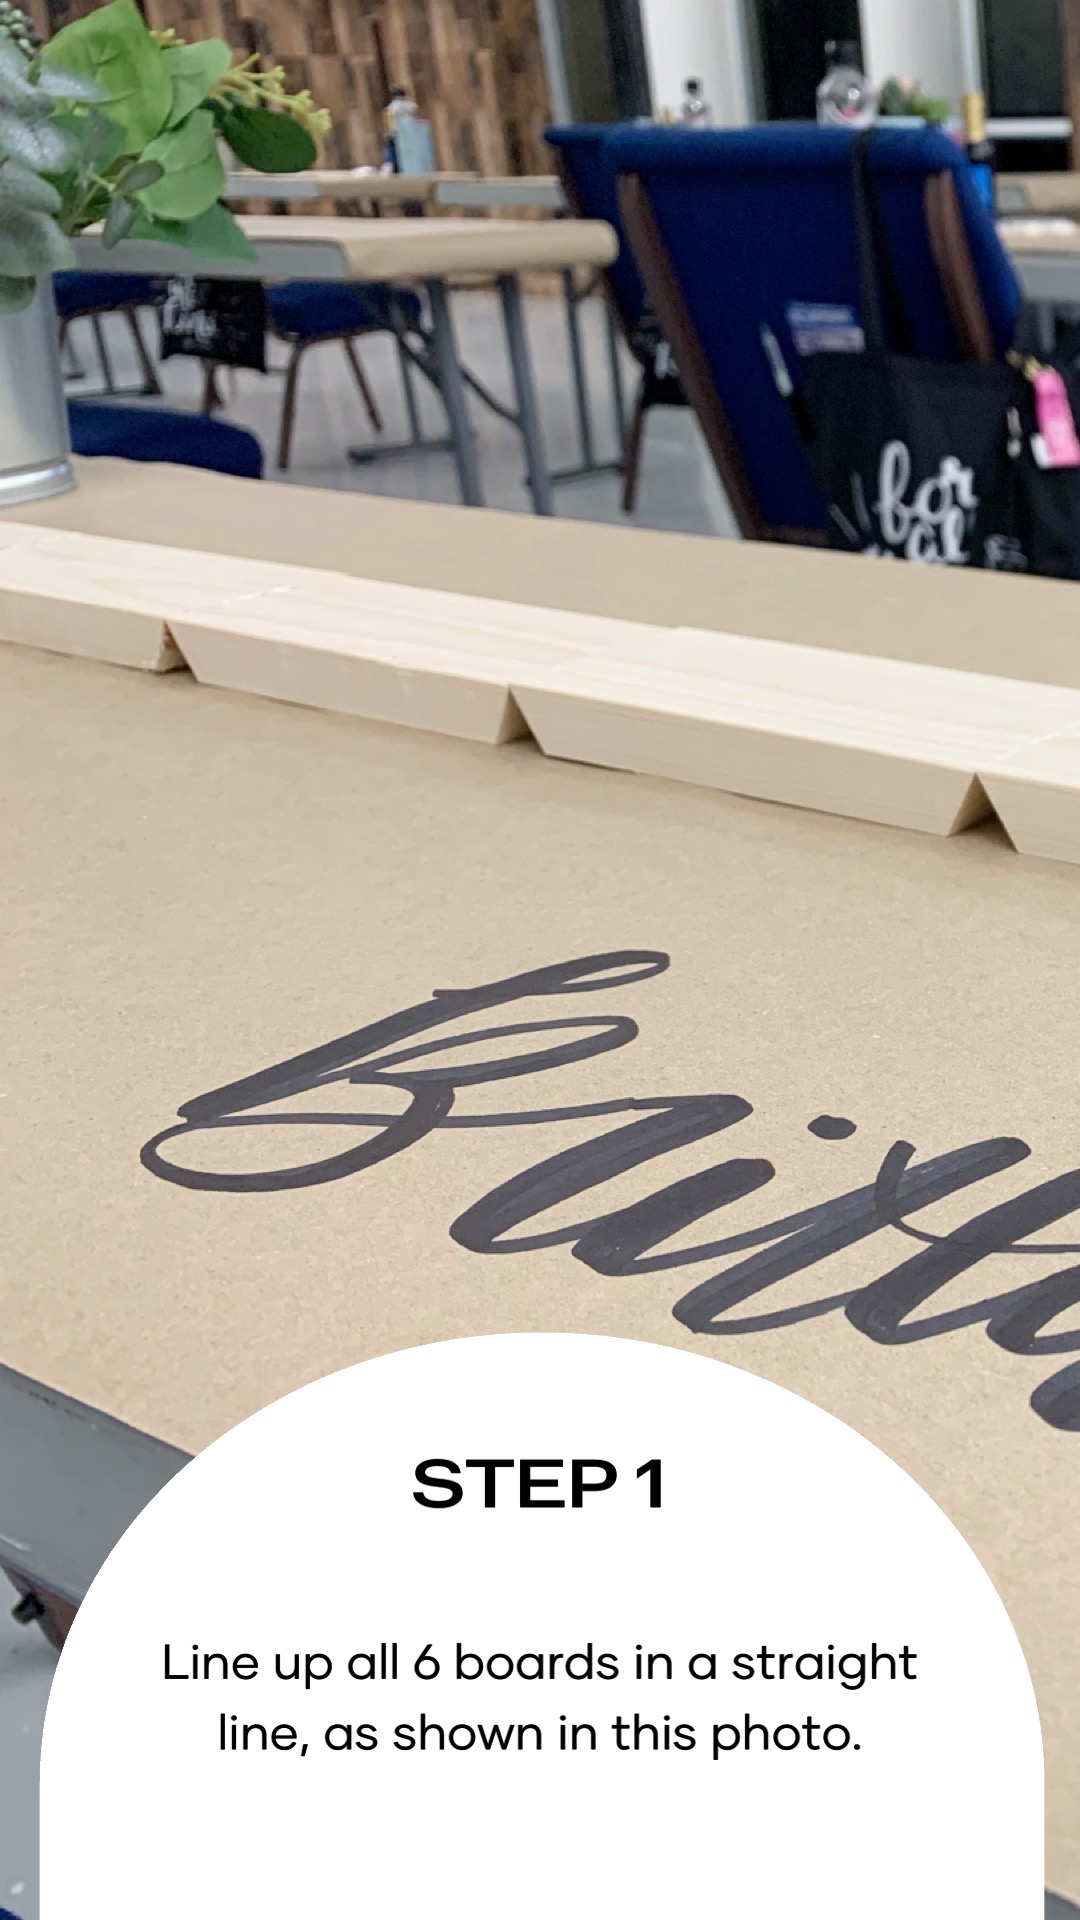
Line up all 6 boards in a straight line, as shown in the photo above.
Step 2
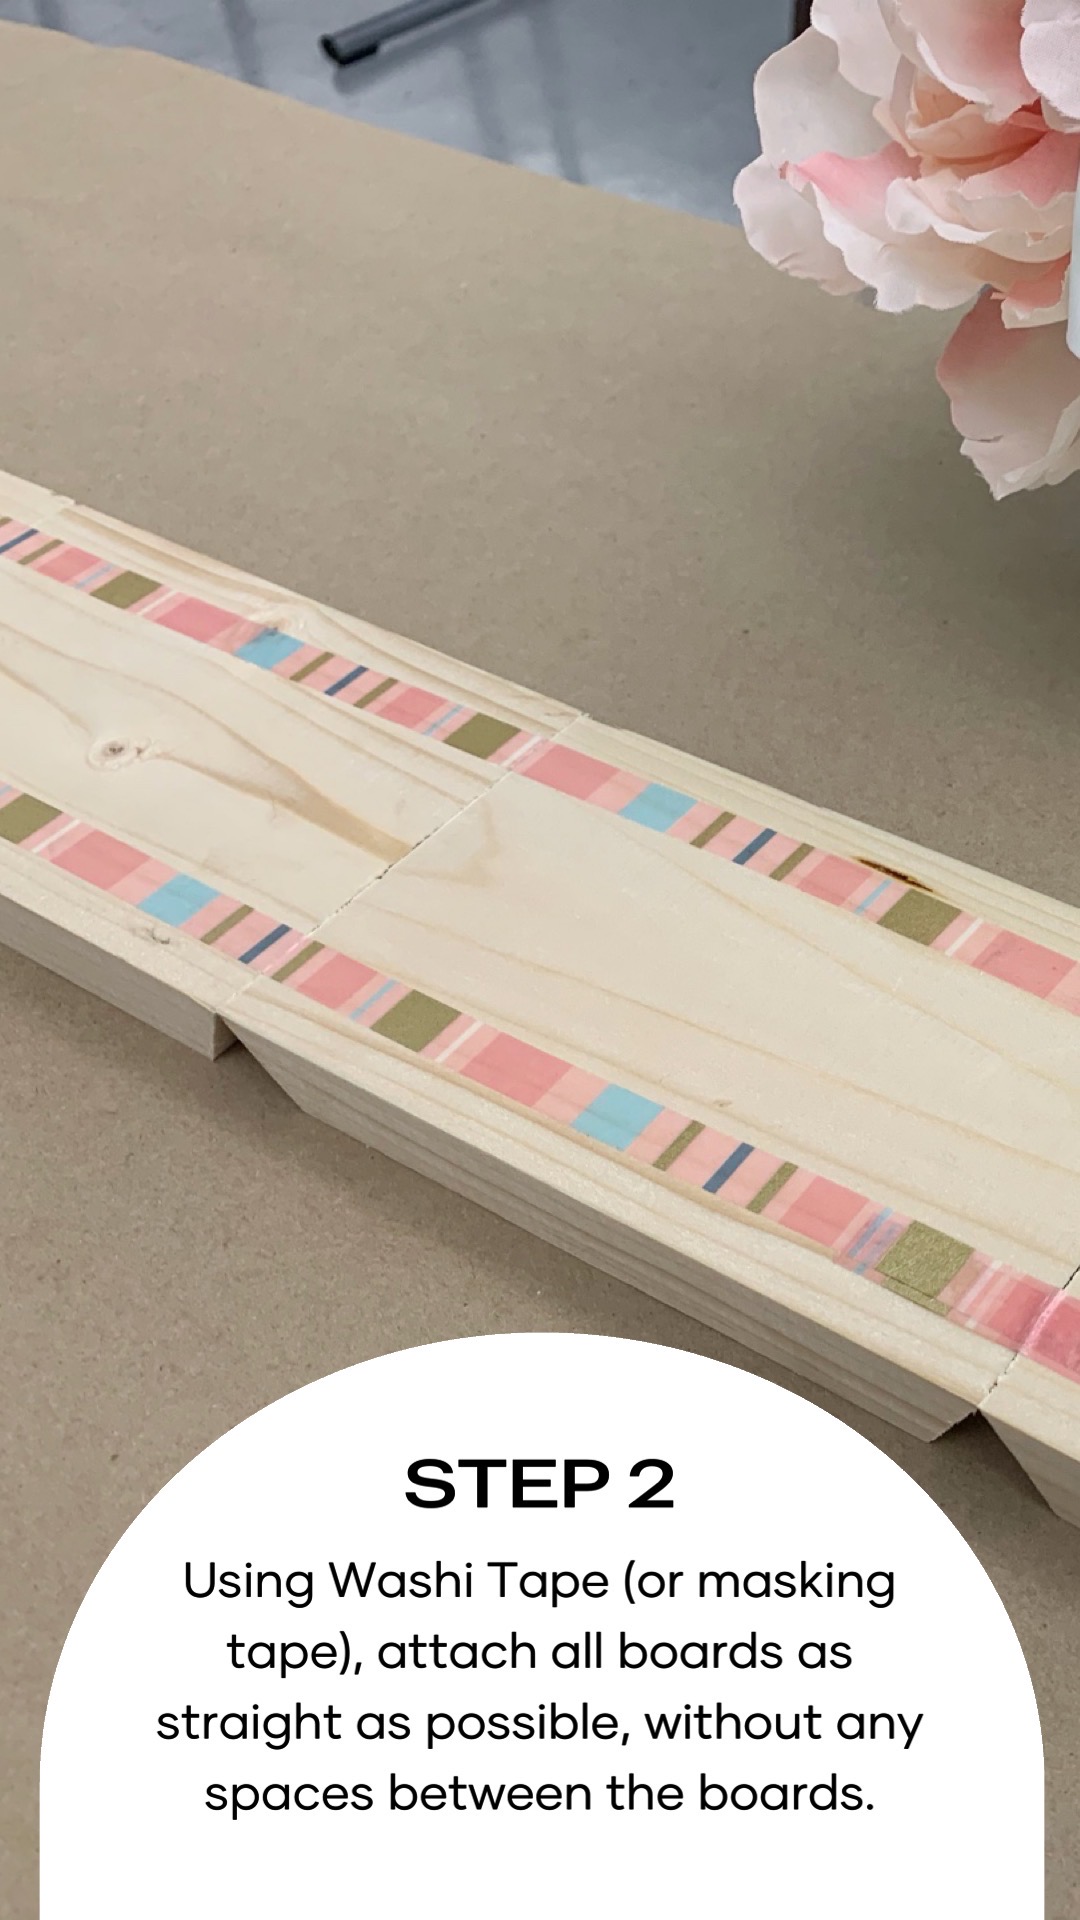
Using Washi Tape (or masking tape), attach all boards as straight as possible, without any spaces between the boards.
Step 3
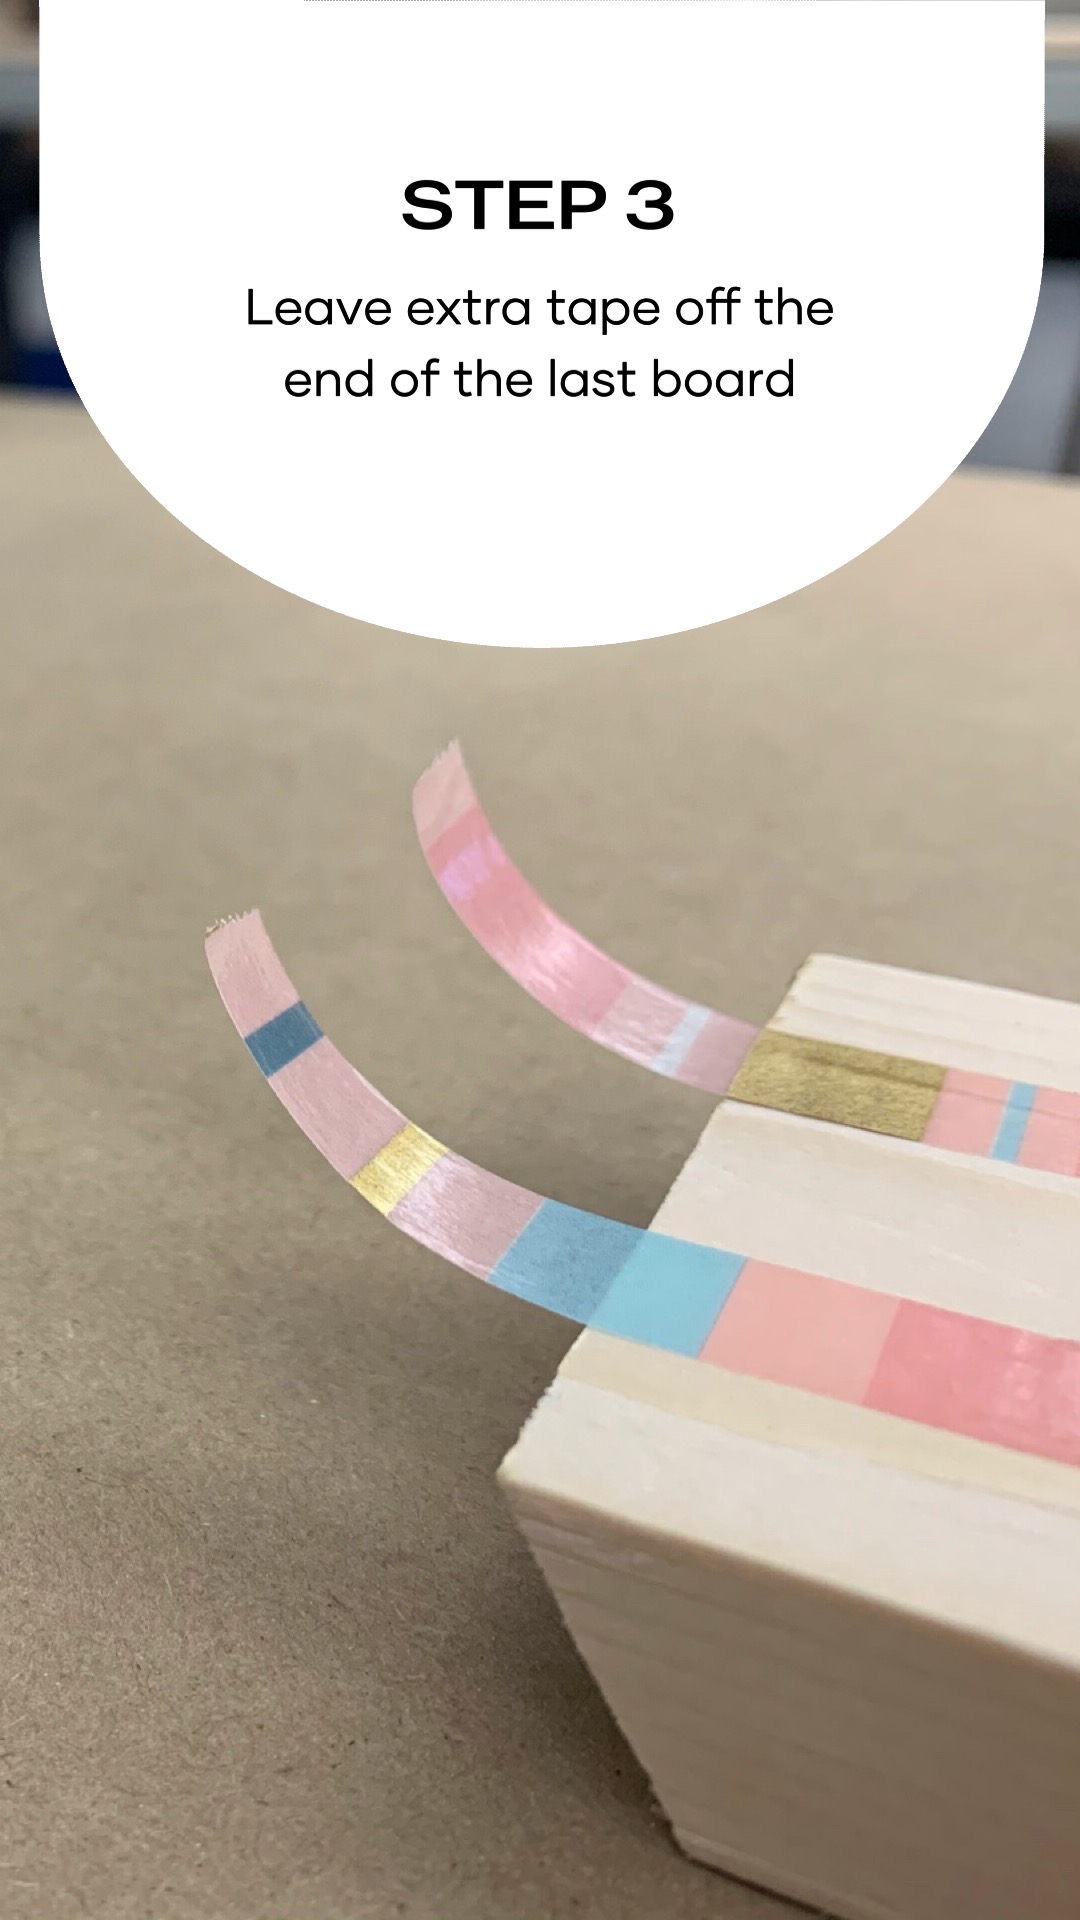
Leave extra tape off the end of the last board.
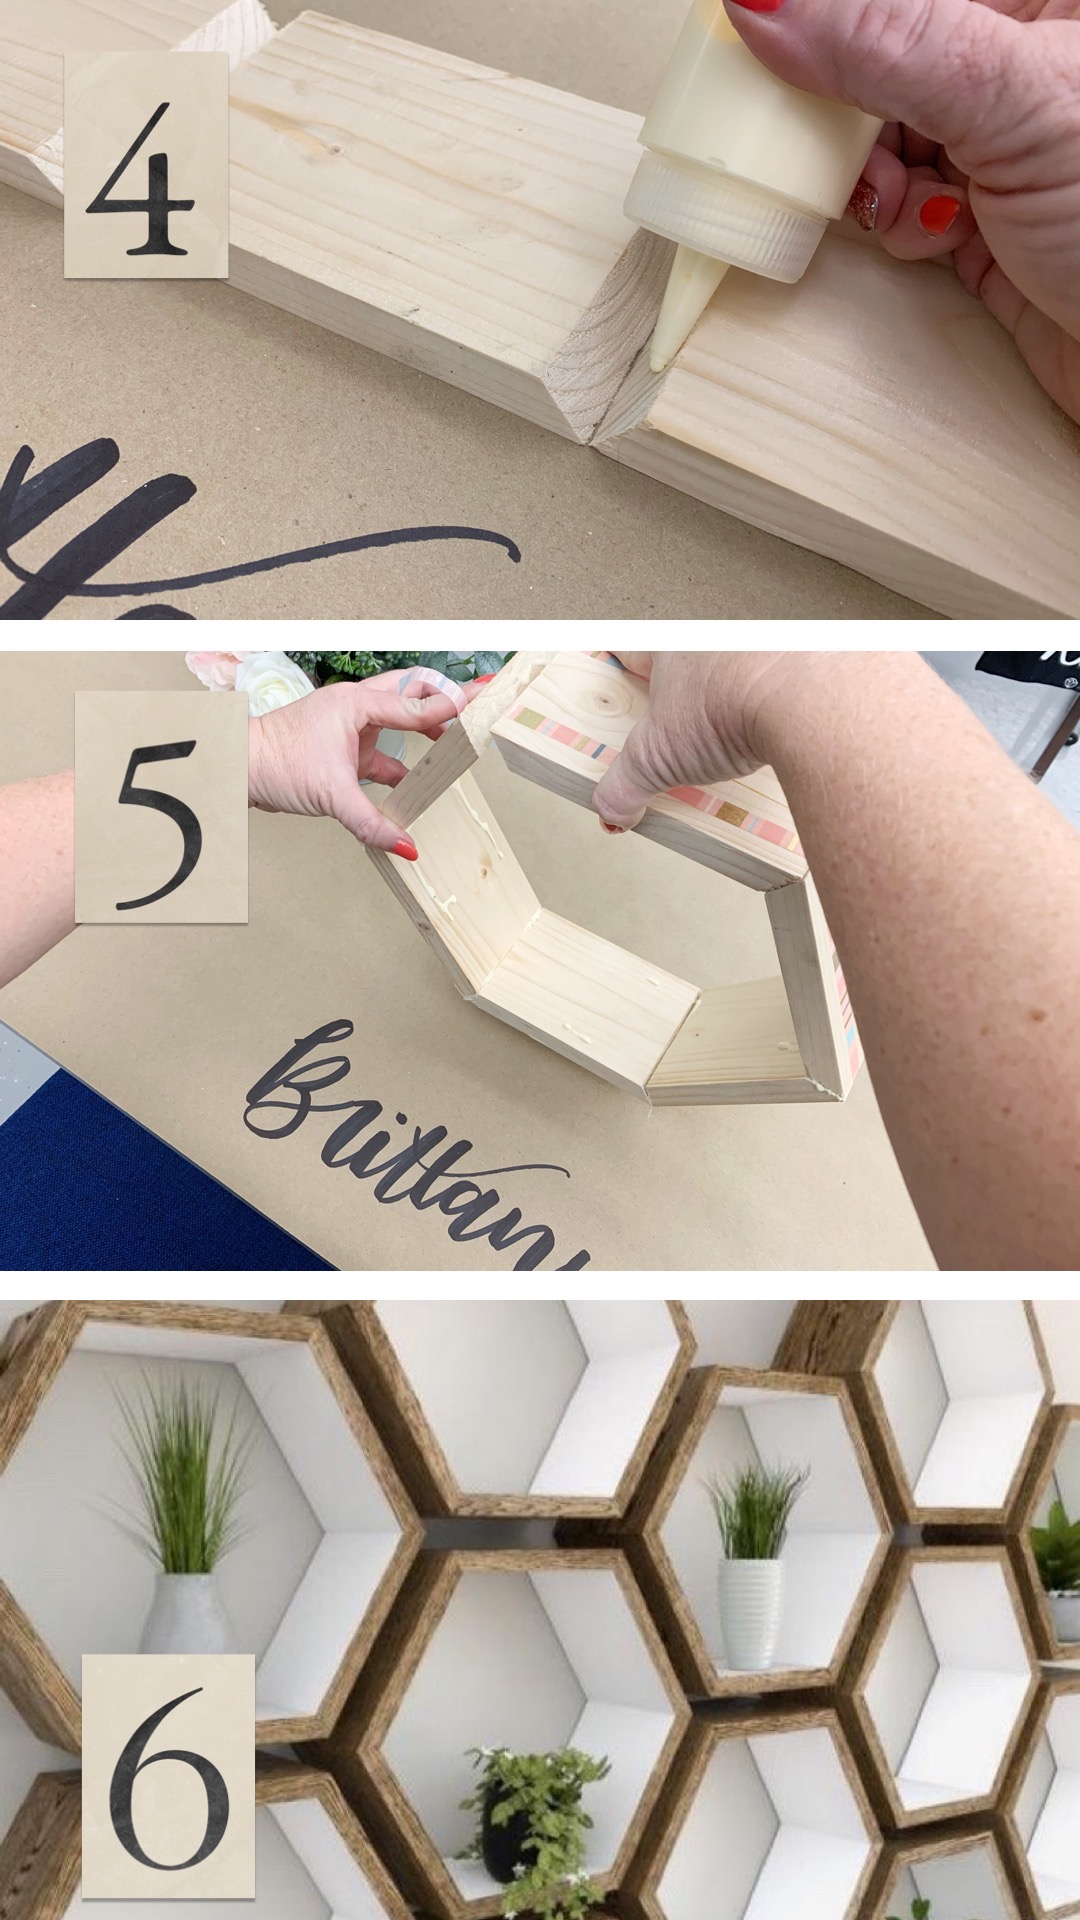
Step 4
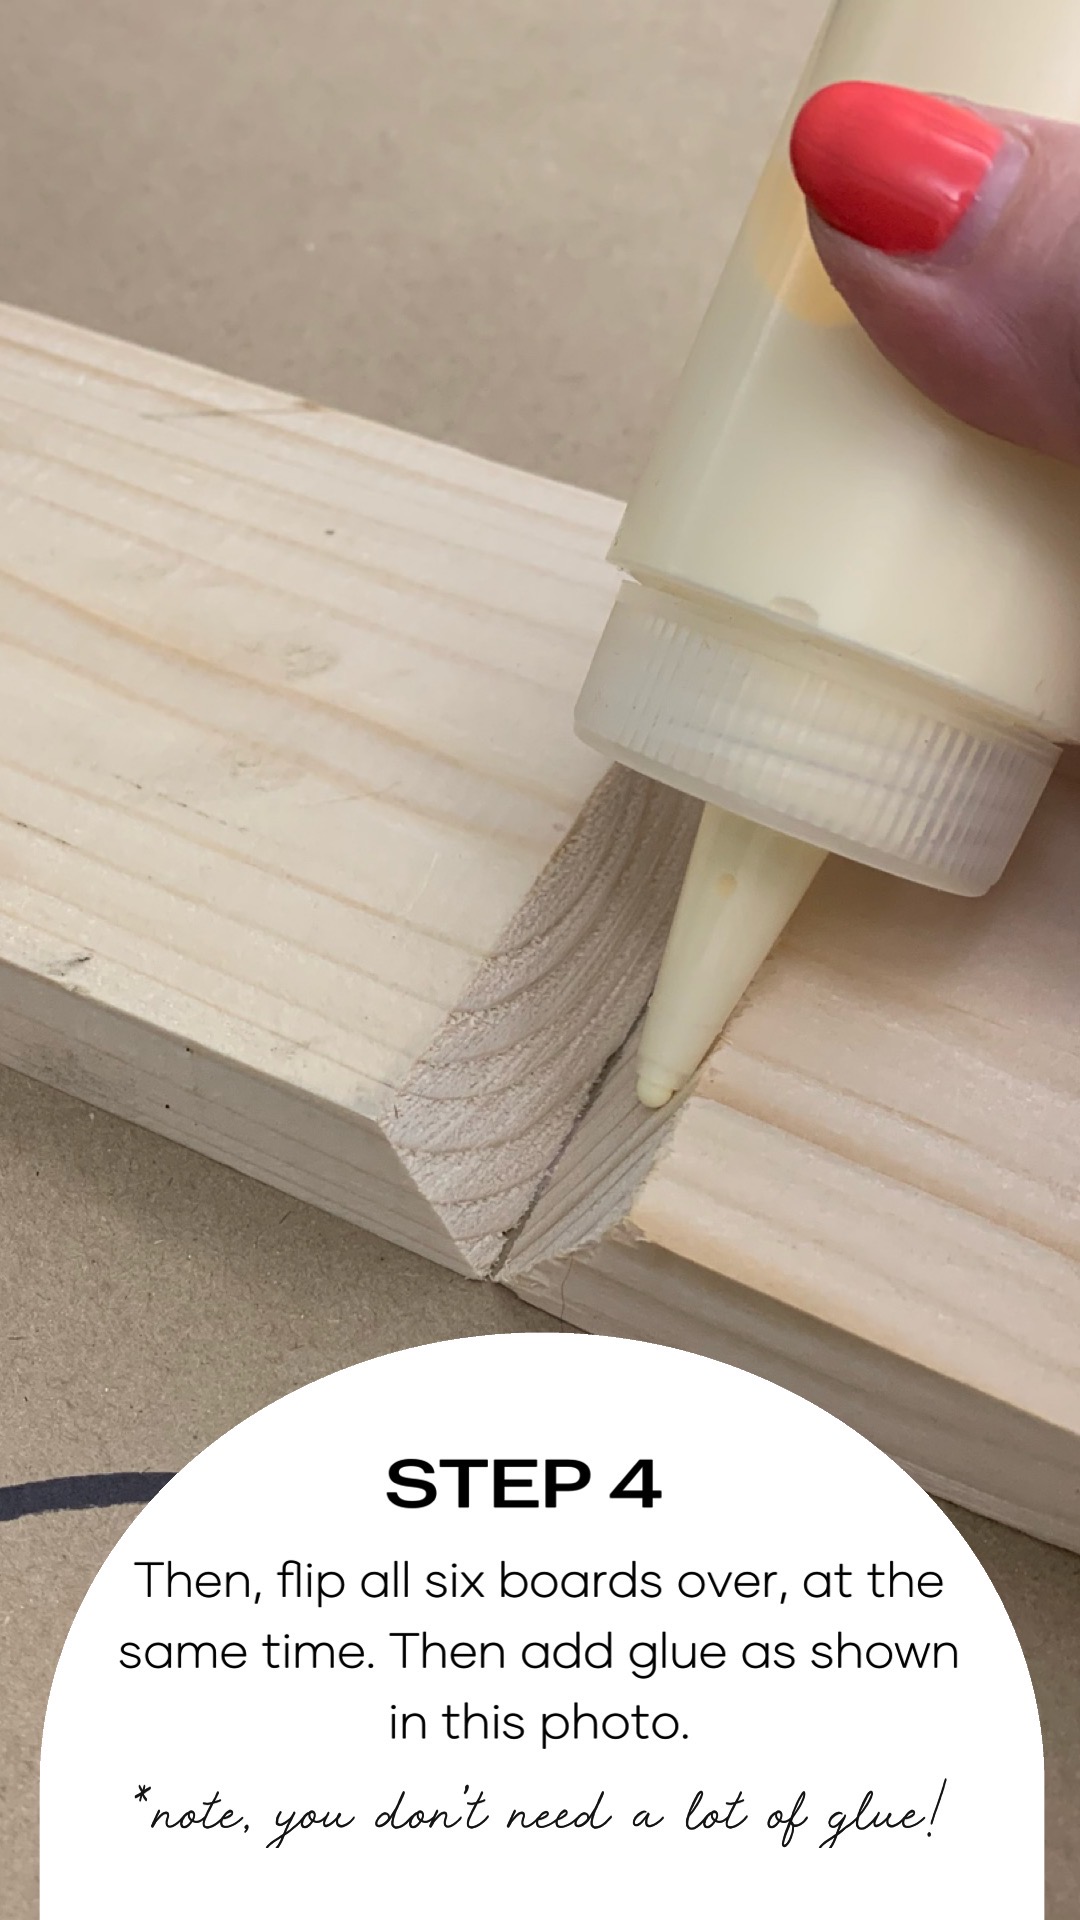
Then, flip all six boards over, at the same time. Add glue as shown in the above photo.
*note, you don’t need a lot of glue!
Step 5
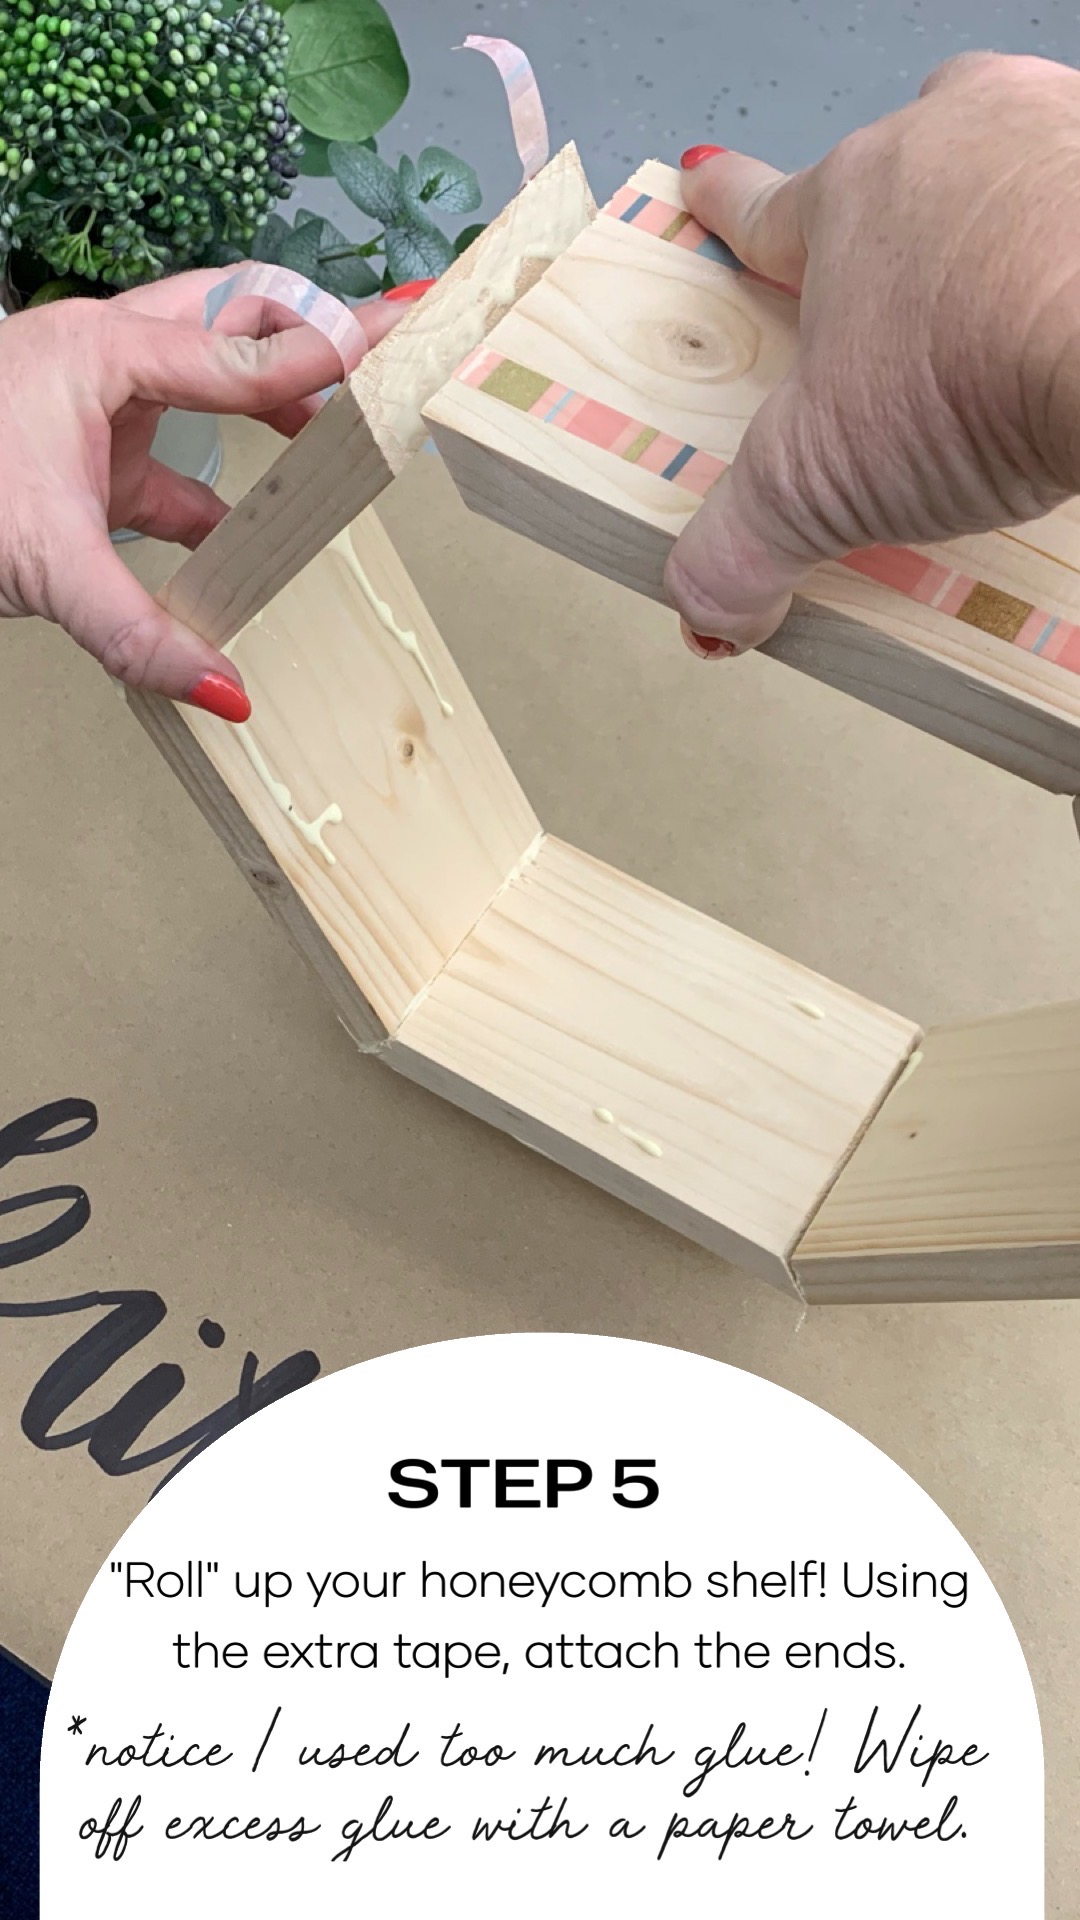
“Roll” up your honeycomb shelf! Using the extra tape, attach the ends.
*notice I used too much glue! Wipe off excess glue with a paper towel.
Step 5b
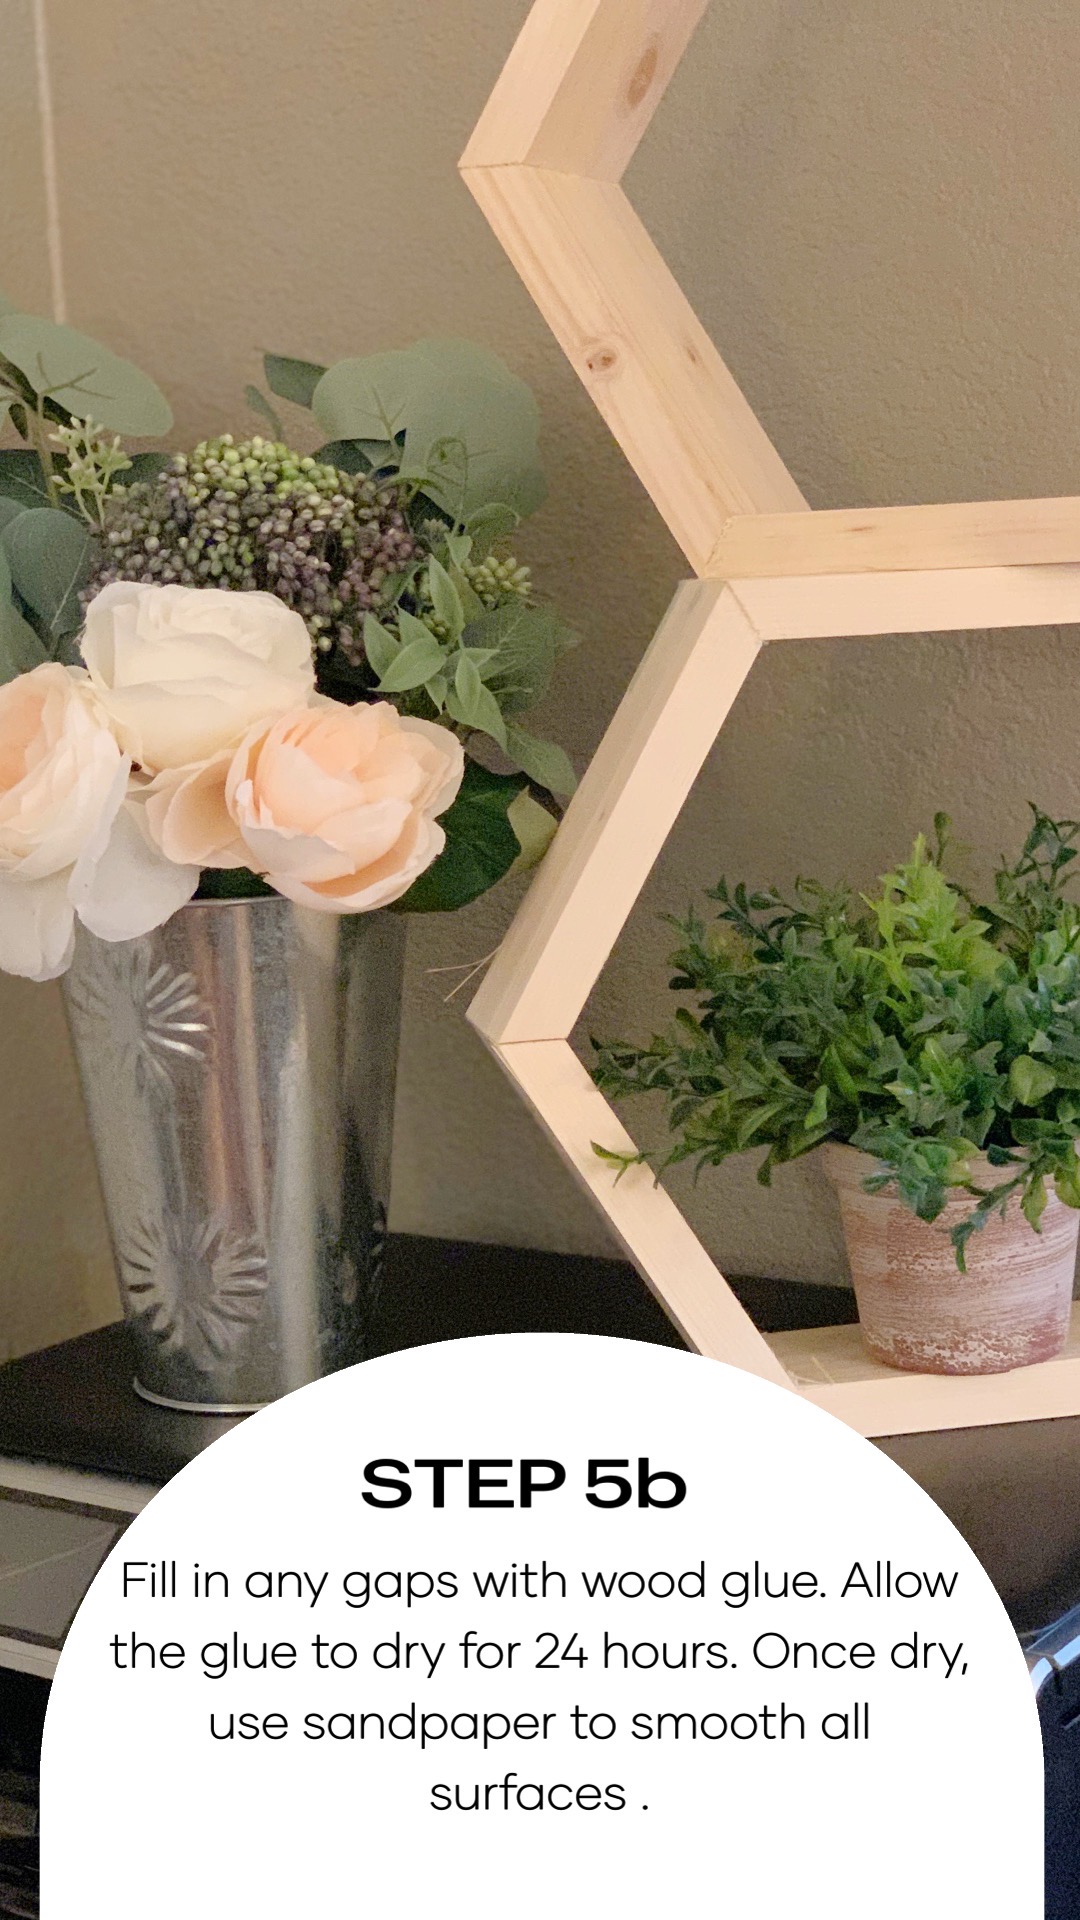
Fill in any gaps with wood glue. Allow the glue to dry for 24 hours before removing the tape. Once dry, use sandpaper to smooth all surfaces.
Step 6

If you wish, stain and/or paint your shelves!
Purchase a honeycomb shelf kit!
Didn’t attend Bloom, or maybe you want to add more to your wall? Click here to purchase a honeycomb shelf kit!
Thank you to all of our Bloom attendees for making this year’s event a huge success! We grow through what we go through, and we are most definitely all in this together!


