


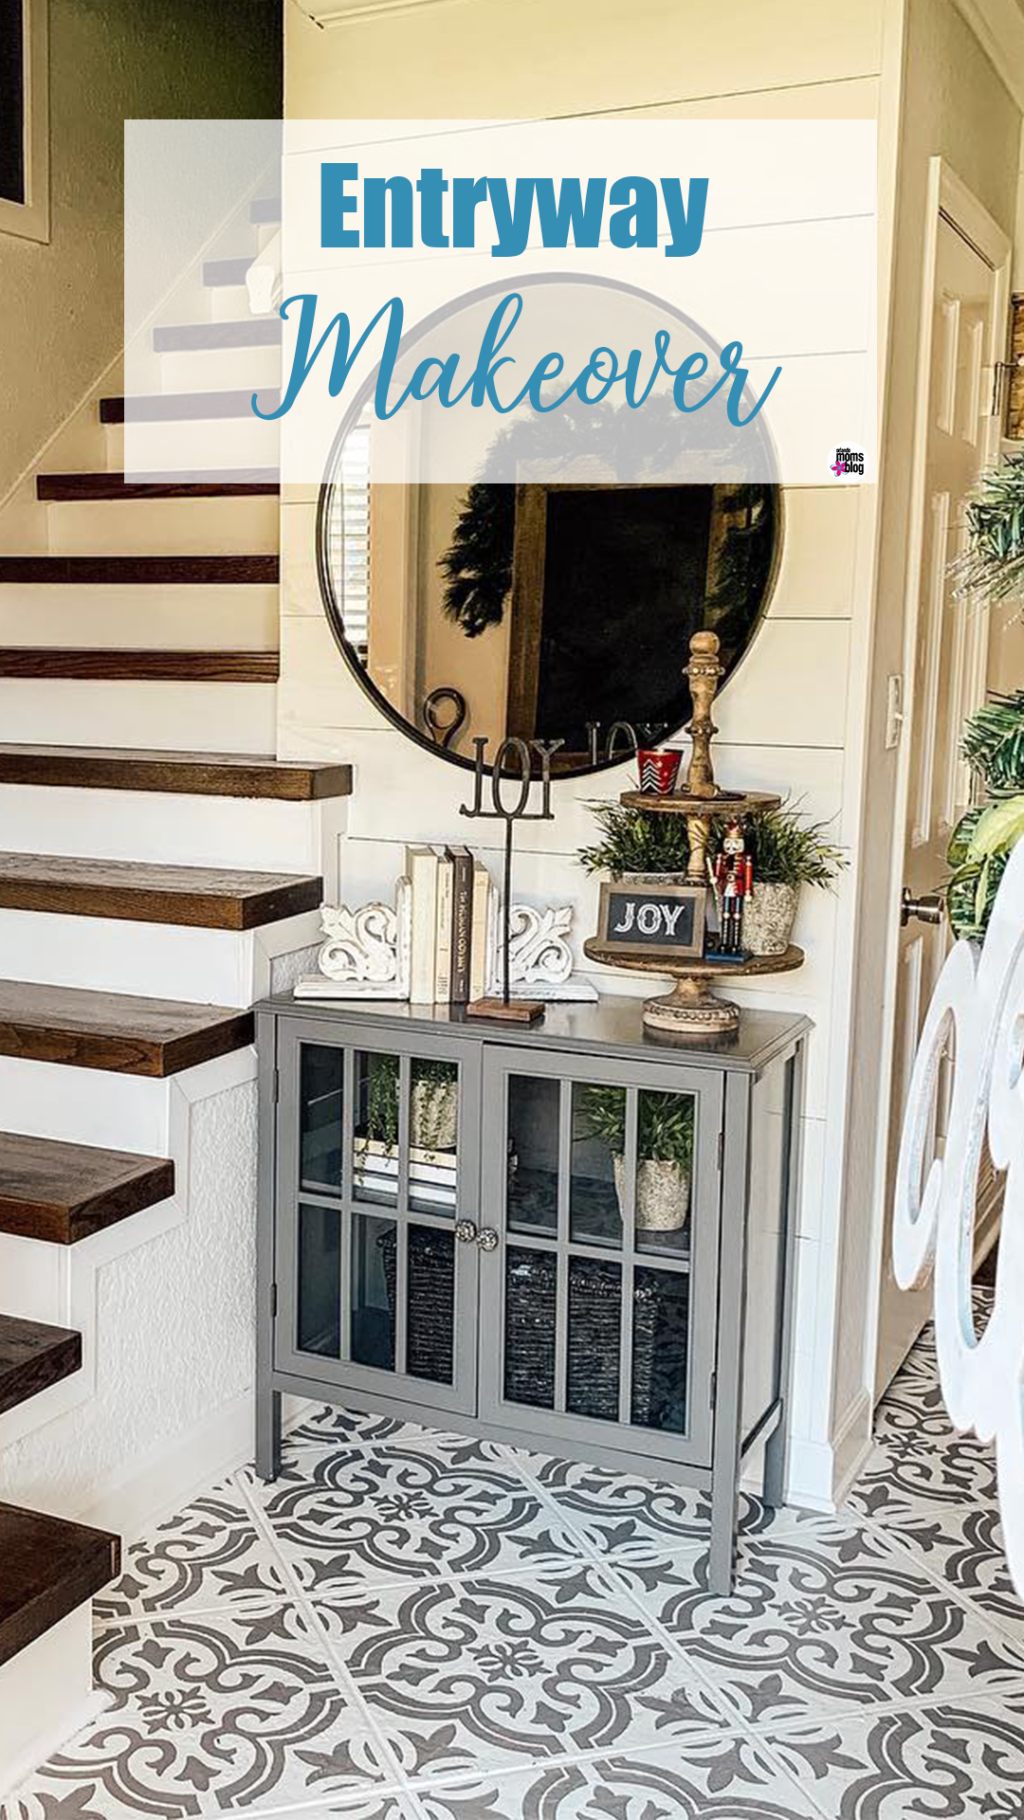
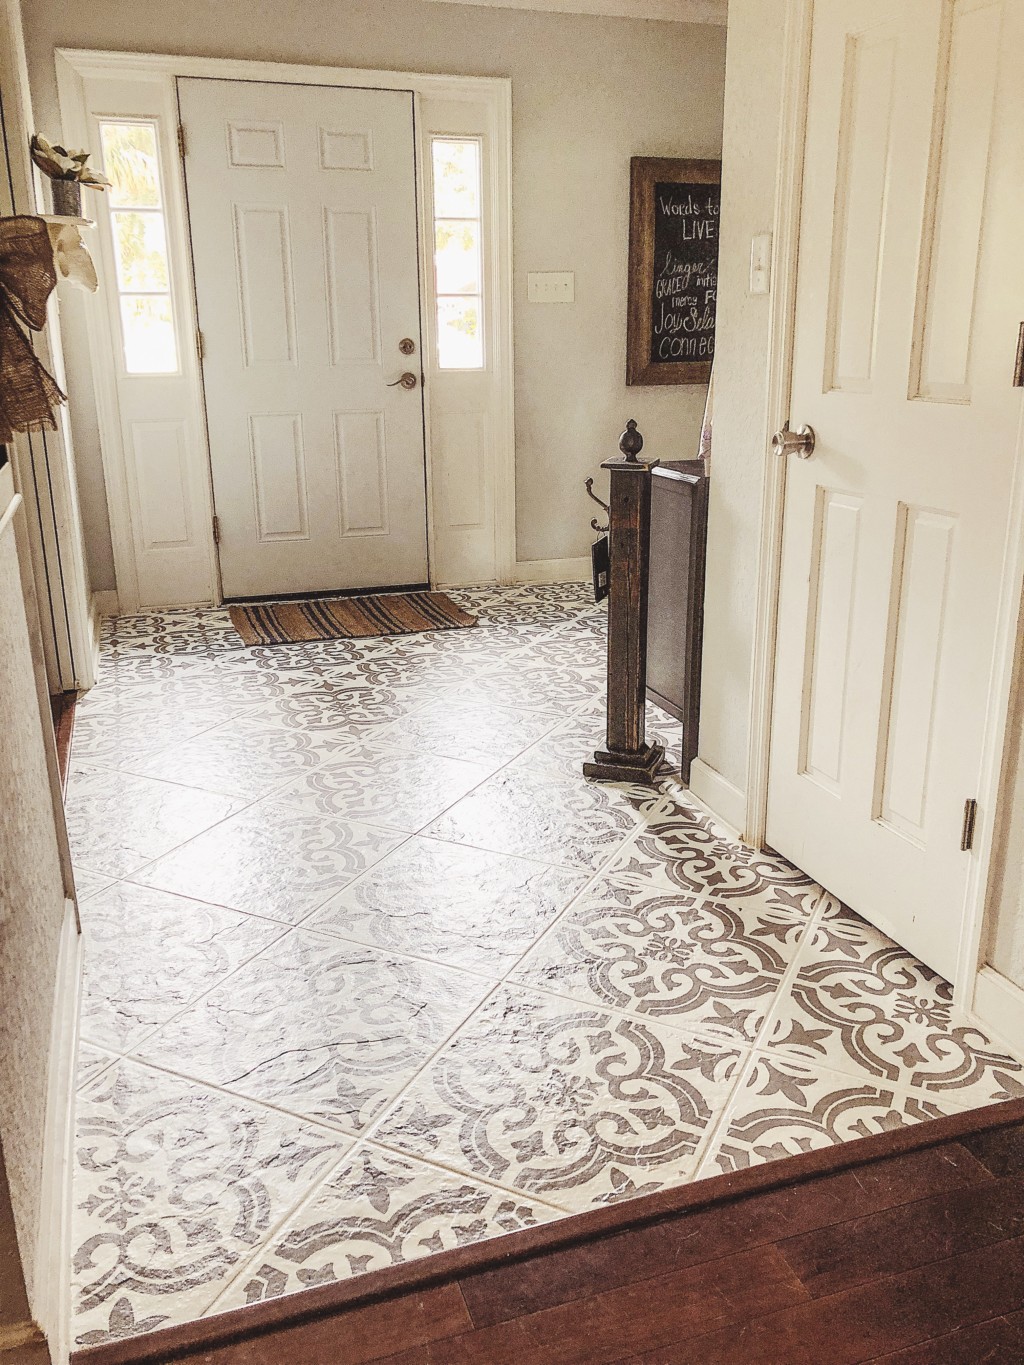
I love a good refresh. Even better, I love a refresh that just enhances what is already there instead of a complete gut job. When we moved in I loved my entryway, but overtime the floors seemed too harsh and too dark for the light and cozy vibe I was going for. Would you believe I transformed the space completely with paint and some elbow grease? Well I did, and here’s a real vague way of how I decided to DIY an Entryway Makeover and “wing it” along the way. Ha!
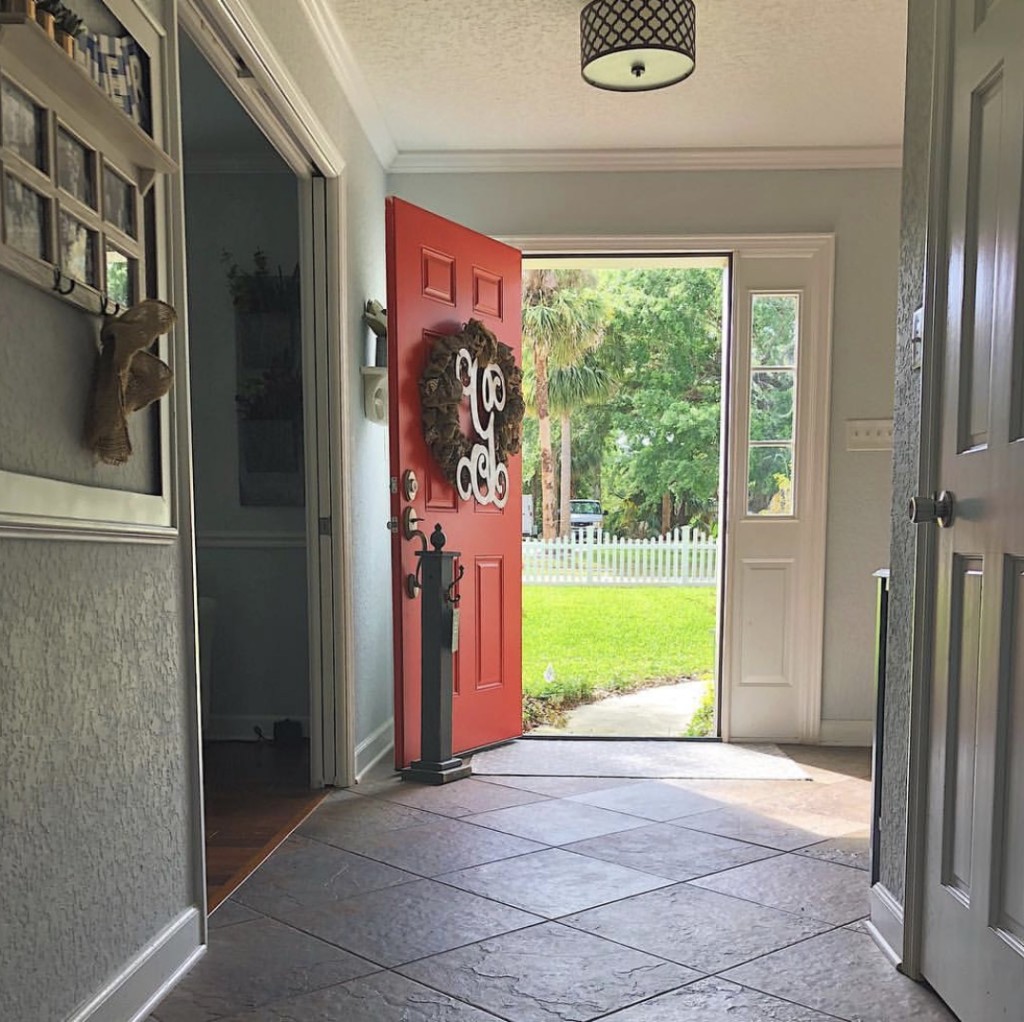
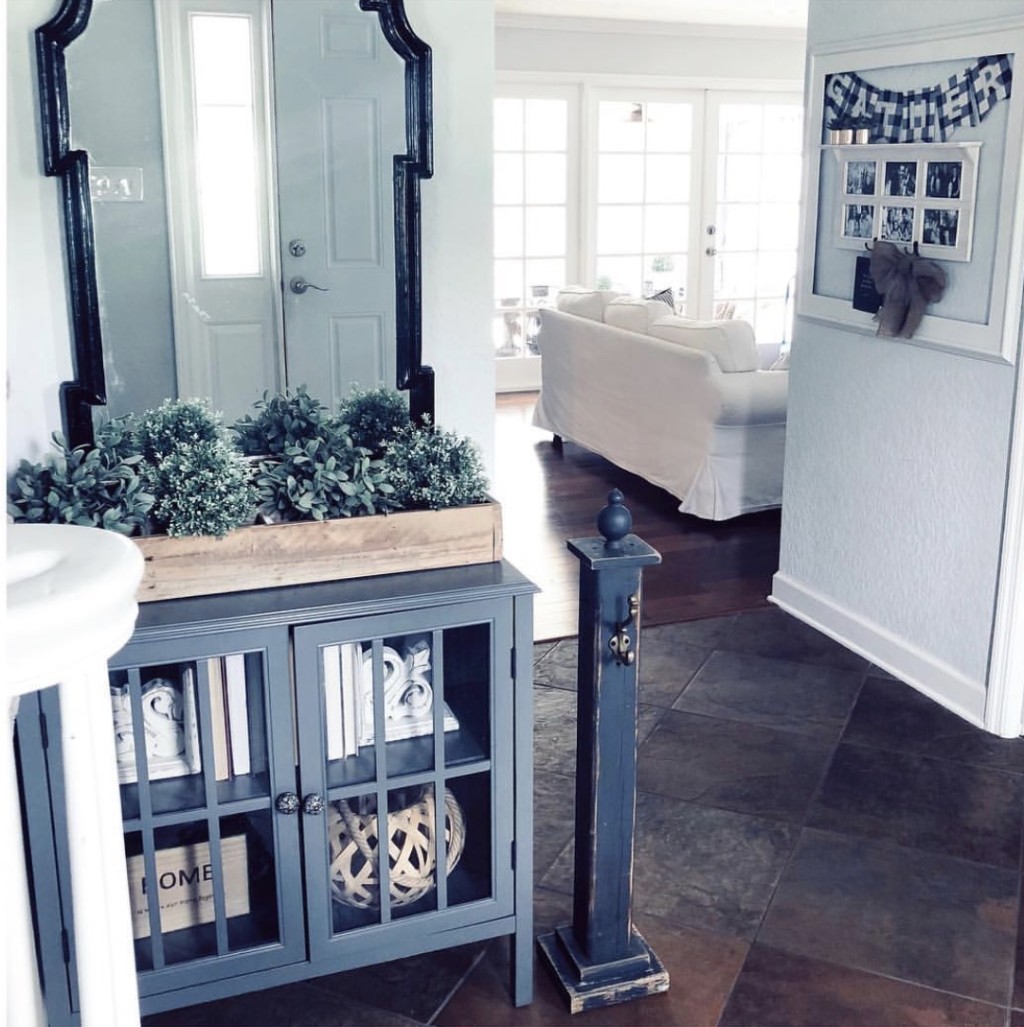
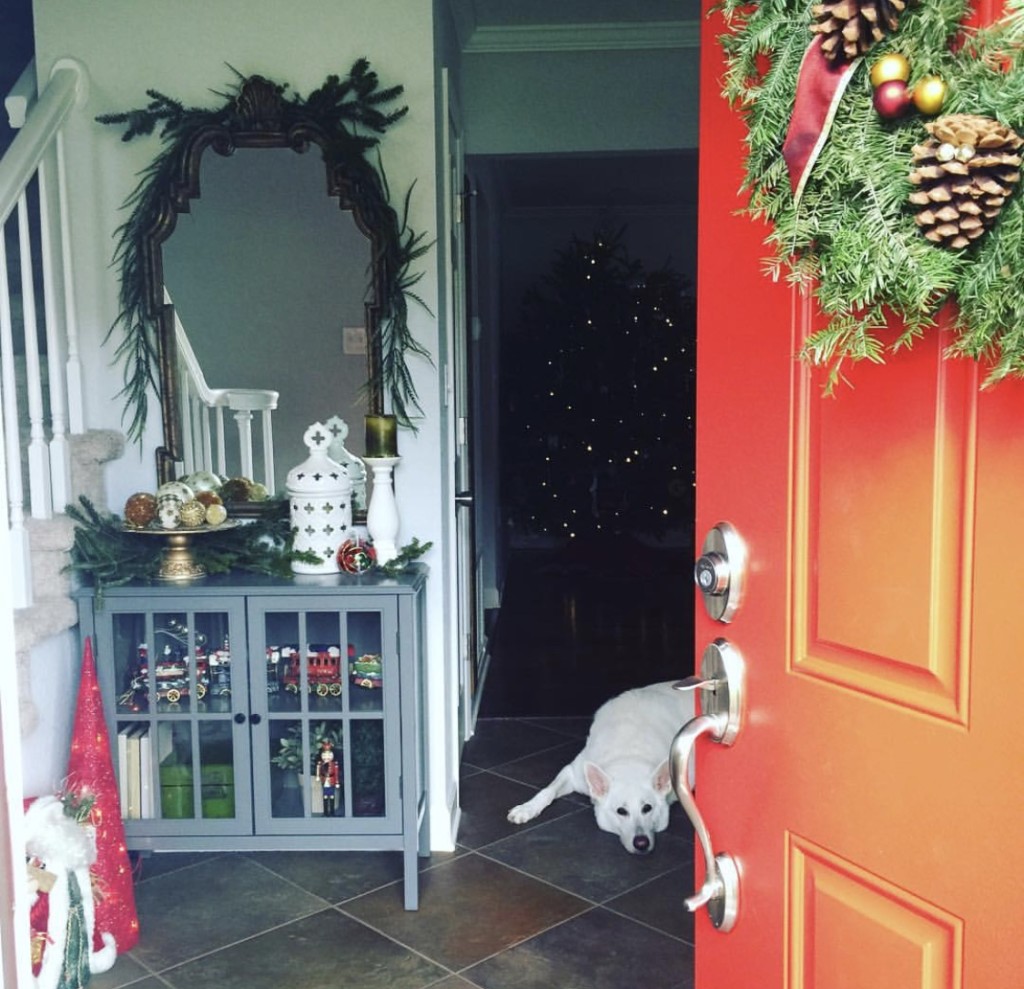
BEFORE:
During:
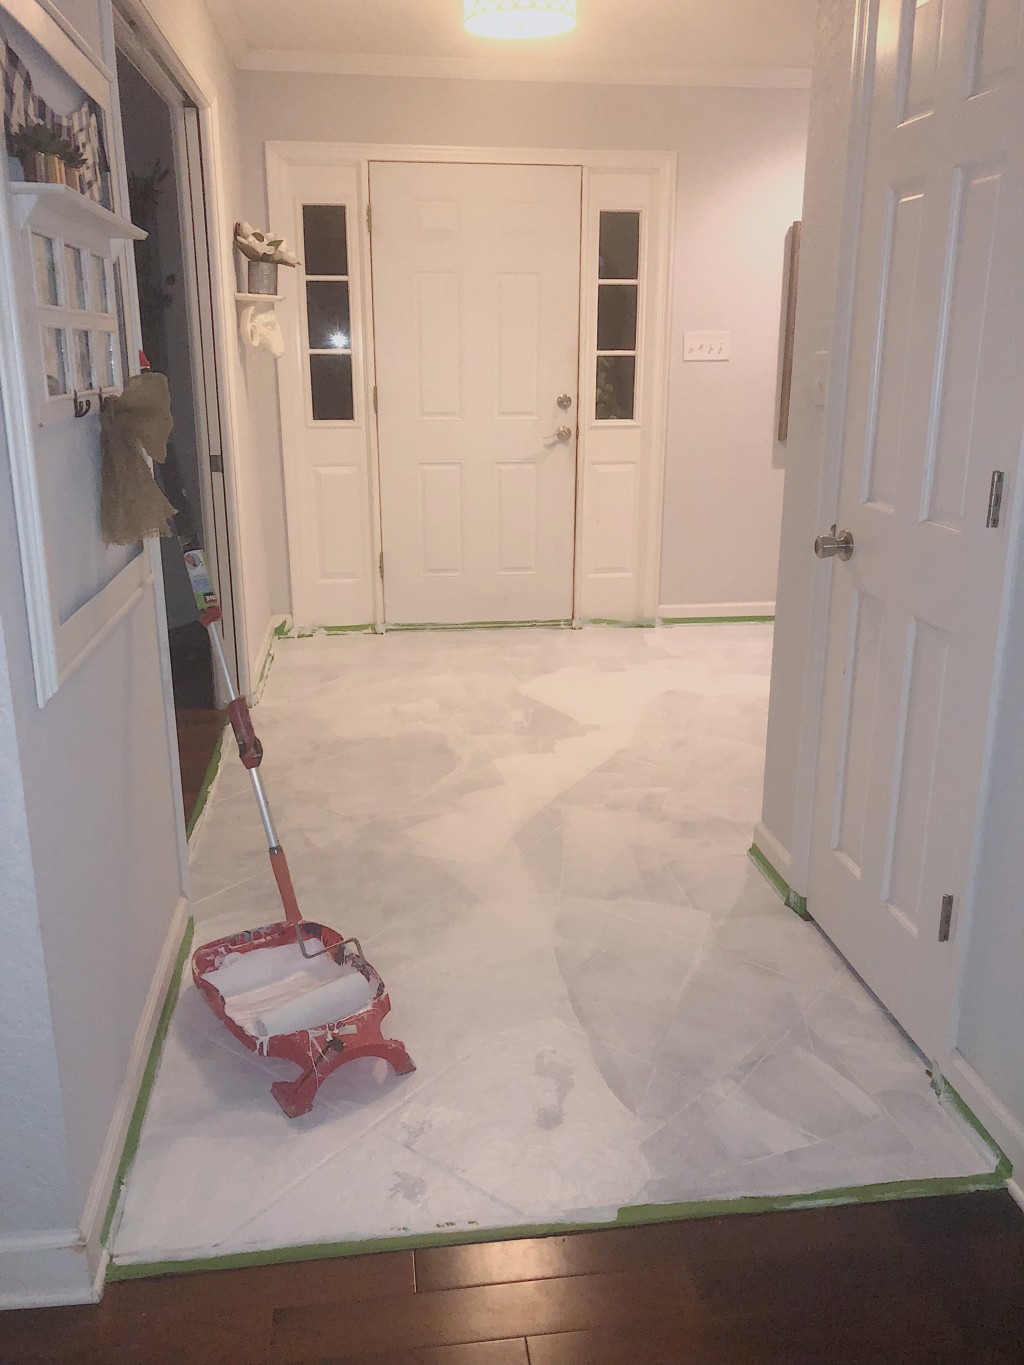
The reason that painting my slate floor didn’t seem scary to me was because there were lots of options afterwards that could solve the problem if it didn’t work. My back up plans were vinyl covering, or of course remove and replace the tile.
Back up plans make me brave. So does an abundance of caffeine.
Here are the steps in a nutshell:
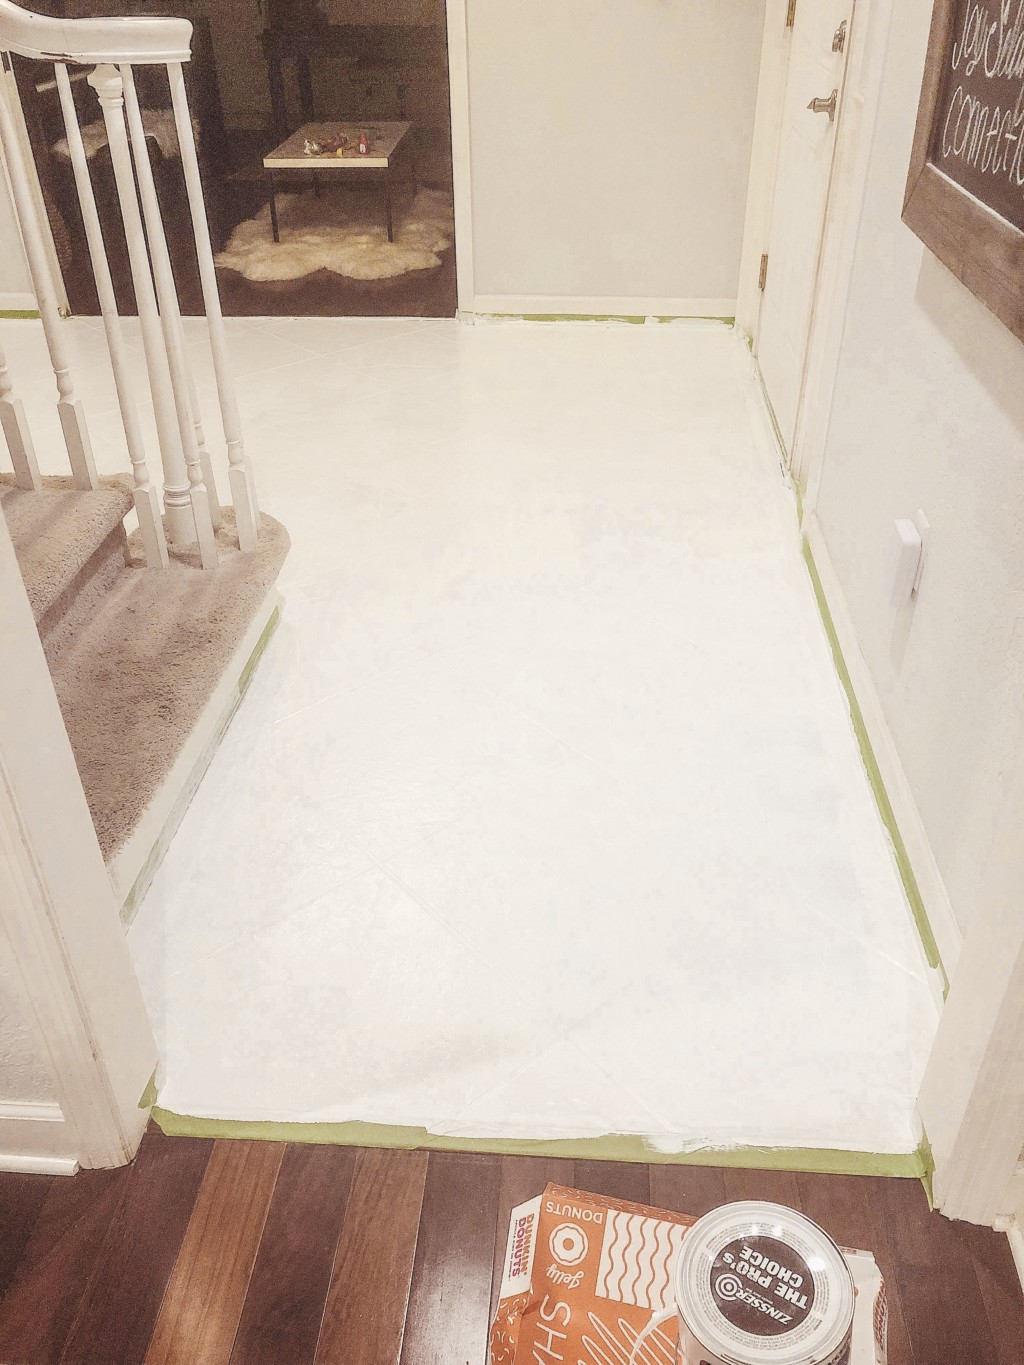
- Tape off the area you want to paint
- Paint the entire area with a bonding adhesion primer for a few coats depending on how satisfied you are with the coverage. I used the Kilz brand.
- Pick your base color in PORCH FLOOR PAINT (you can do light or dark) and paint at least 3-4 coats on your entire tiled area. I used the Valspar brand and am satisfied with its coverage and durability.
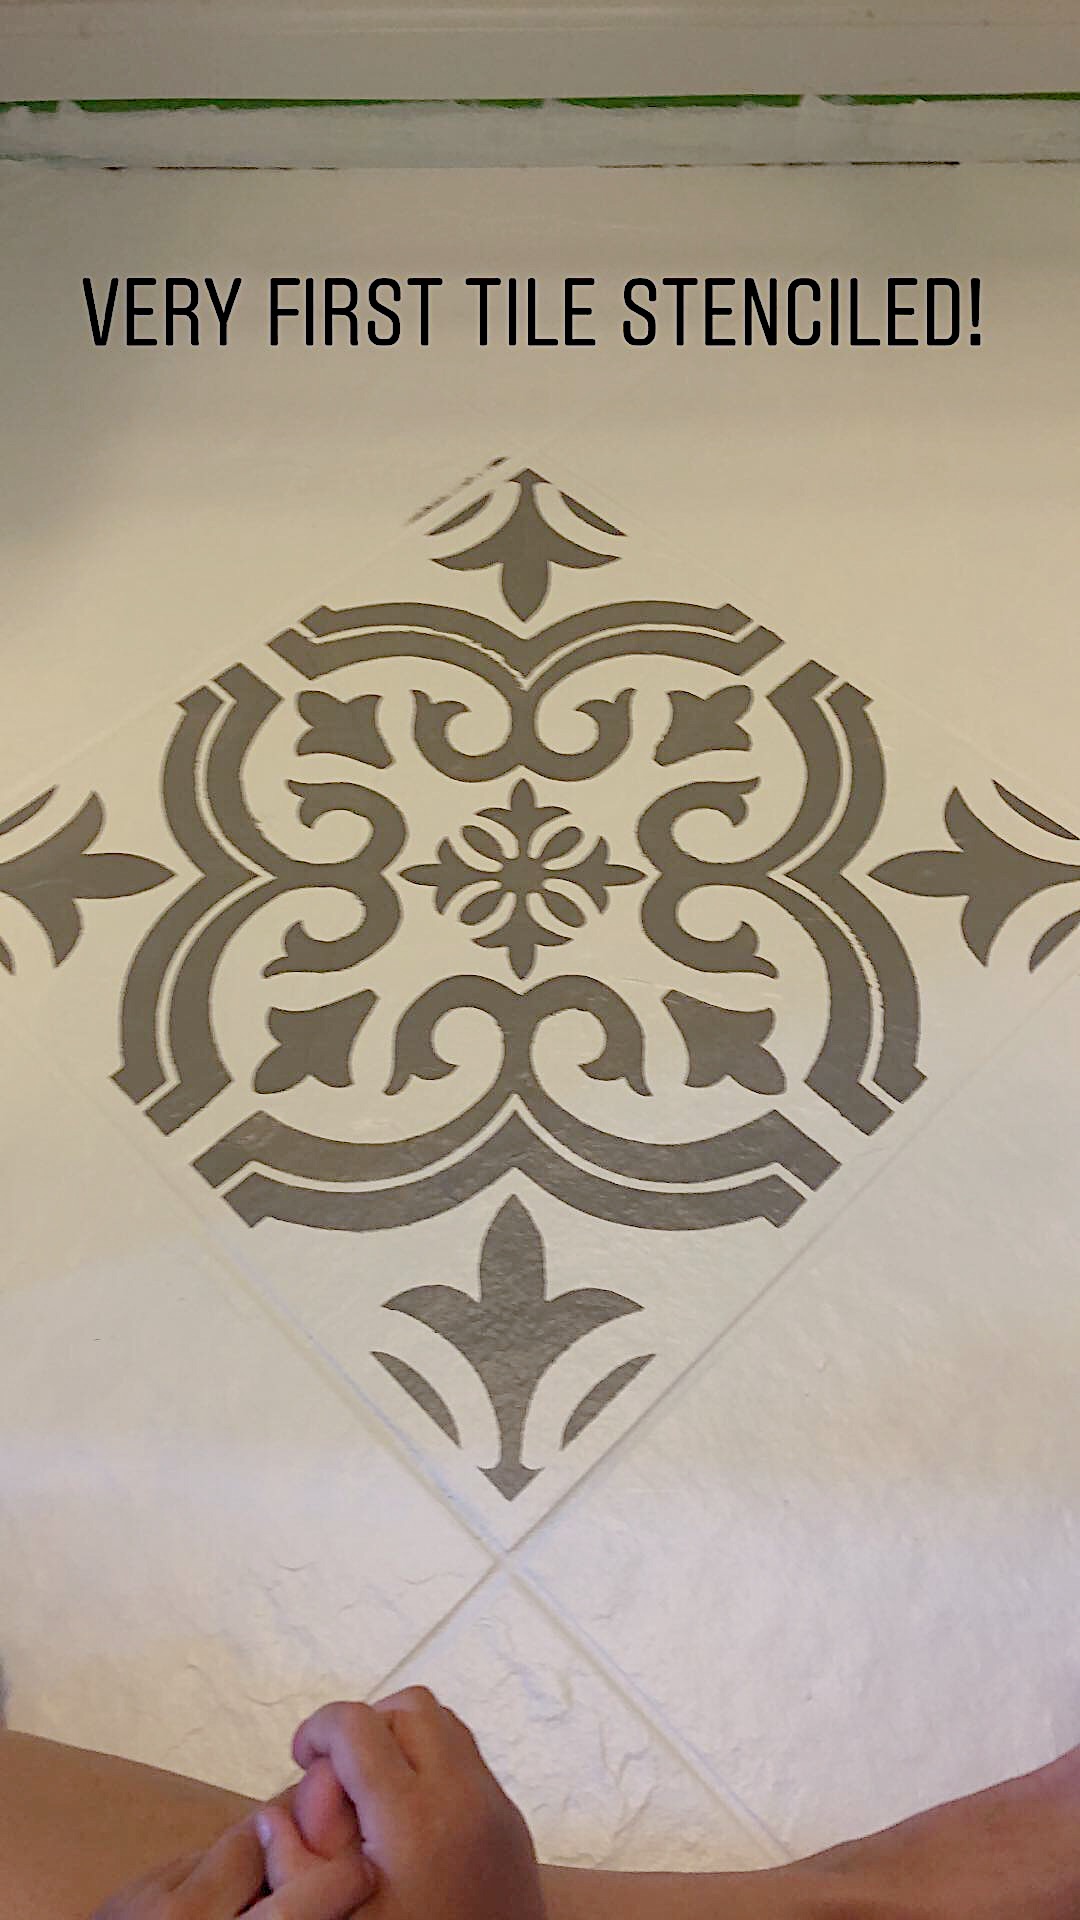
- I ordered a stencil online by googling “floor tile stencils”. You measure your existing tile and order that coinciding stencil size.
- After the base coat has had ample time to dry (at least 24 hours) then tape your stencil down after lining it up with the edges of your current tile.
- I recommend getting a “Stencil brush” which you use to dab repeatedly until your second color has covered every nook and cranny of your stencil design. Make sure you use as little paint on your brush at a time. I did an initial “dab” on a paper towel before taping it directly onto the tile. Repeat this step until your arm is about to fall off.
- You’ll want to go back with a small craft paintbrush (I used my kids craft brushes) and fix any smudges with your base color.
- Protect all your hard work with a clear coat polyurethane. I did 3 of these coats and then removed the tape.
- Allow the floor to cure for at least 48 hours before walking on it.
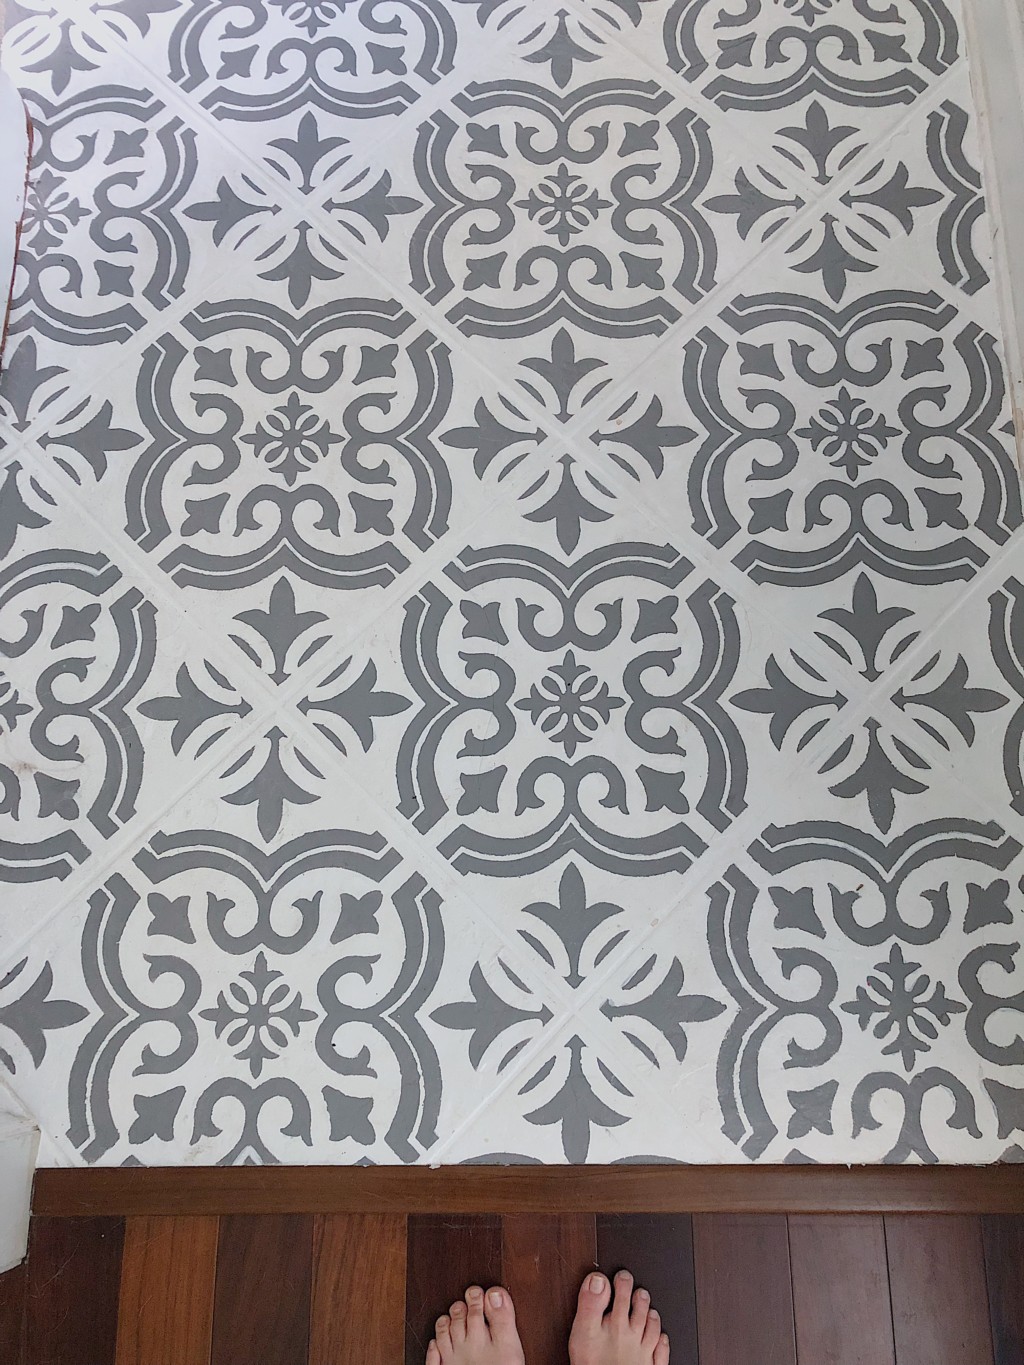
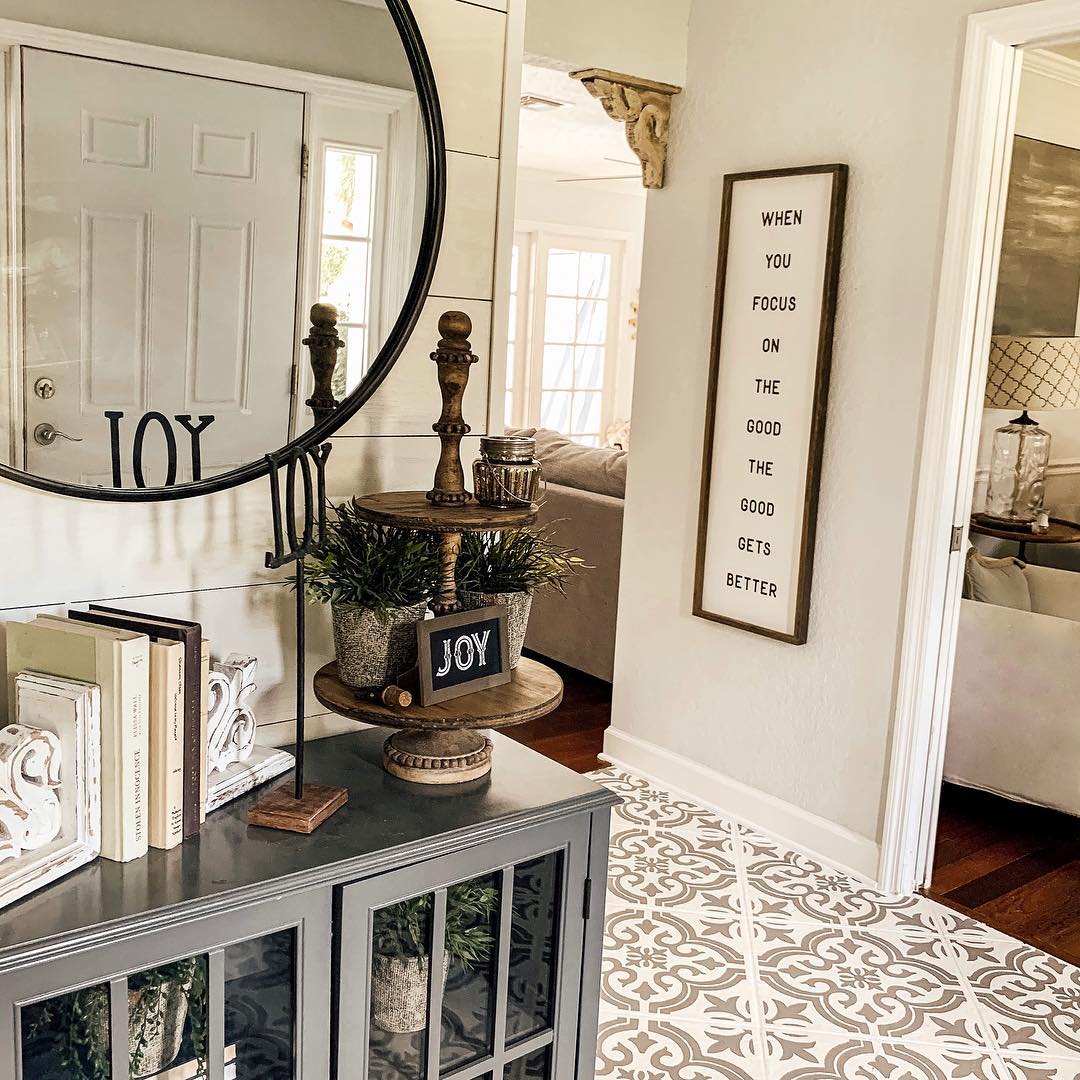
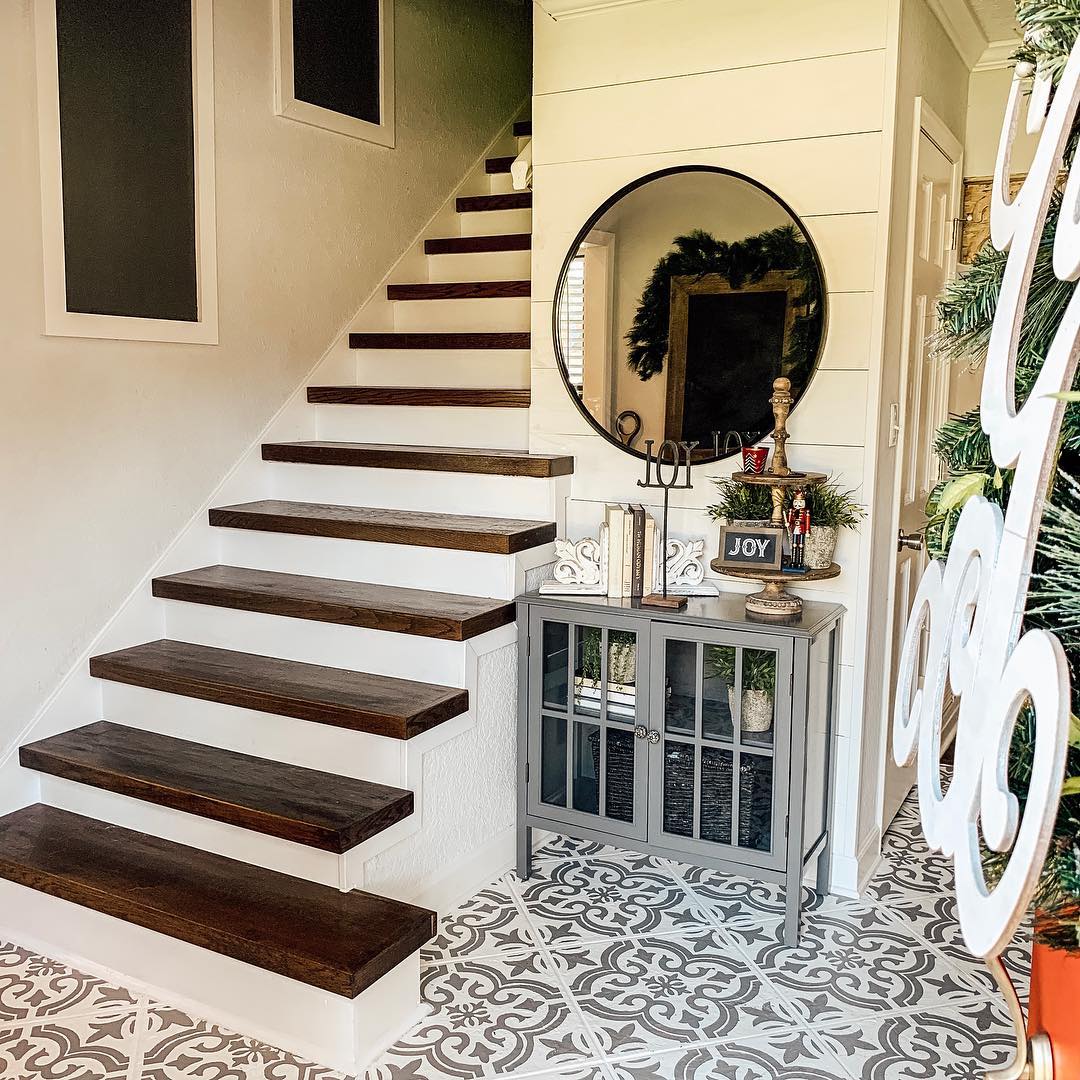
The floor will not be perfect. I have three dogs and there are some worn spots. I like this look and it reminds me of the Spanish cement tile that is not all identical and perfect. The bang for my buck is absolutely astonishing and it is the most complemented part of my home. If you’re up for a refresh in your entryway but don’t want to do any “major overhauls” I’d suggest upgrading that tile we all have with a little paint!


I love the tile stencil! What a transformation!